
Bigger Drones: size matters
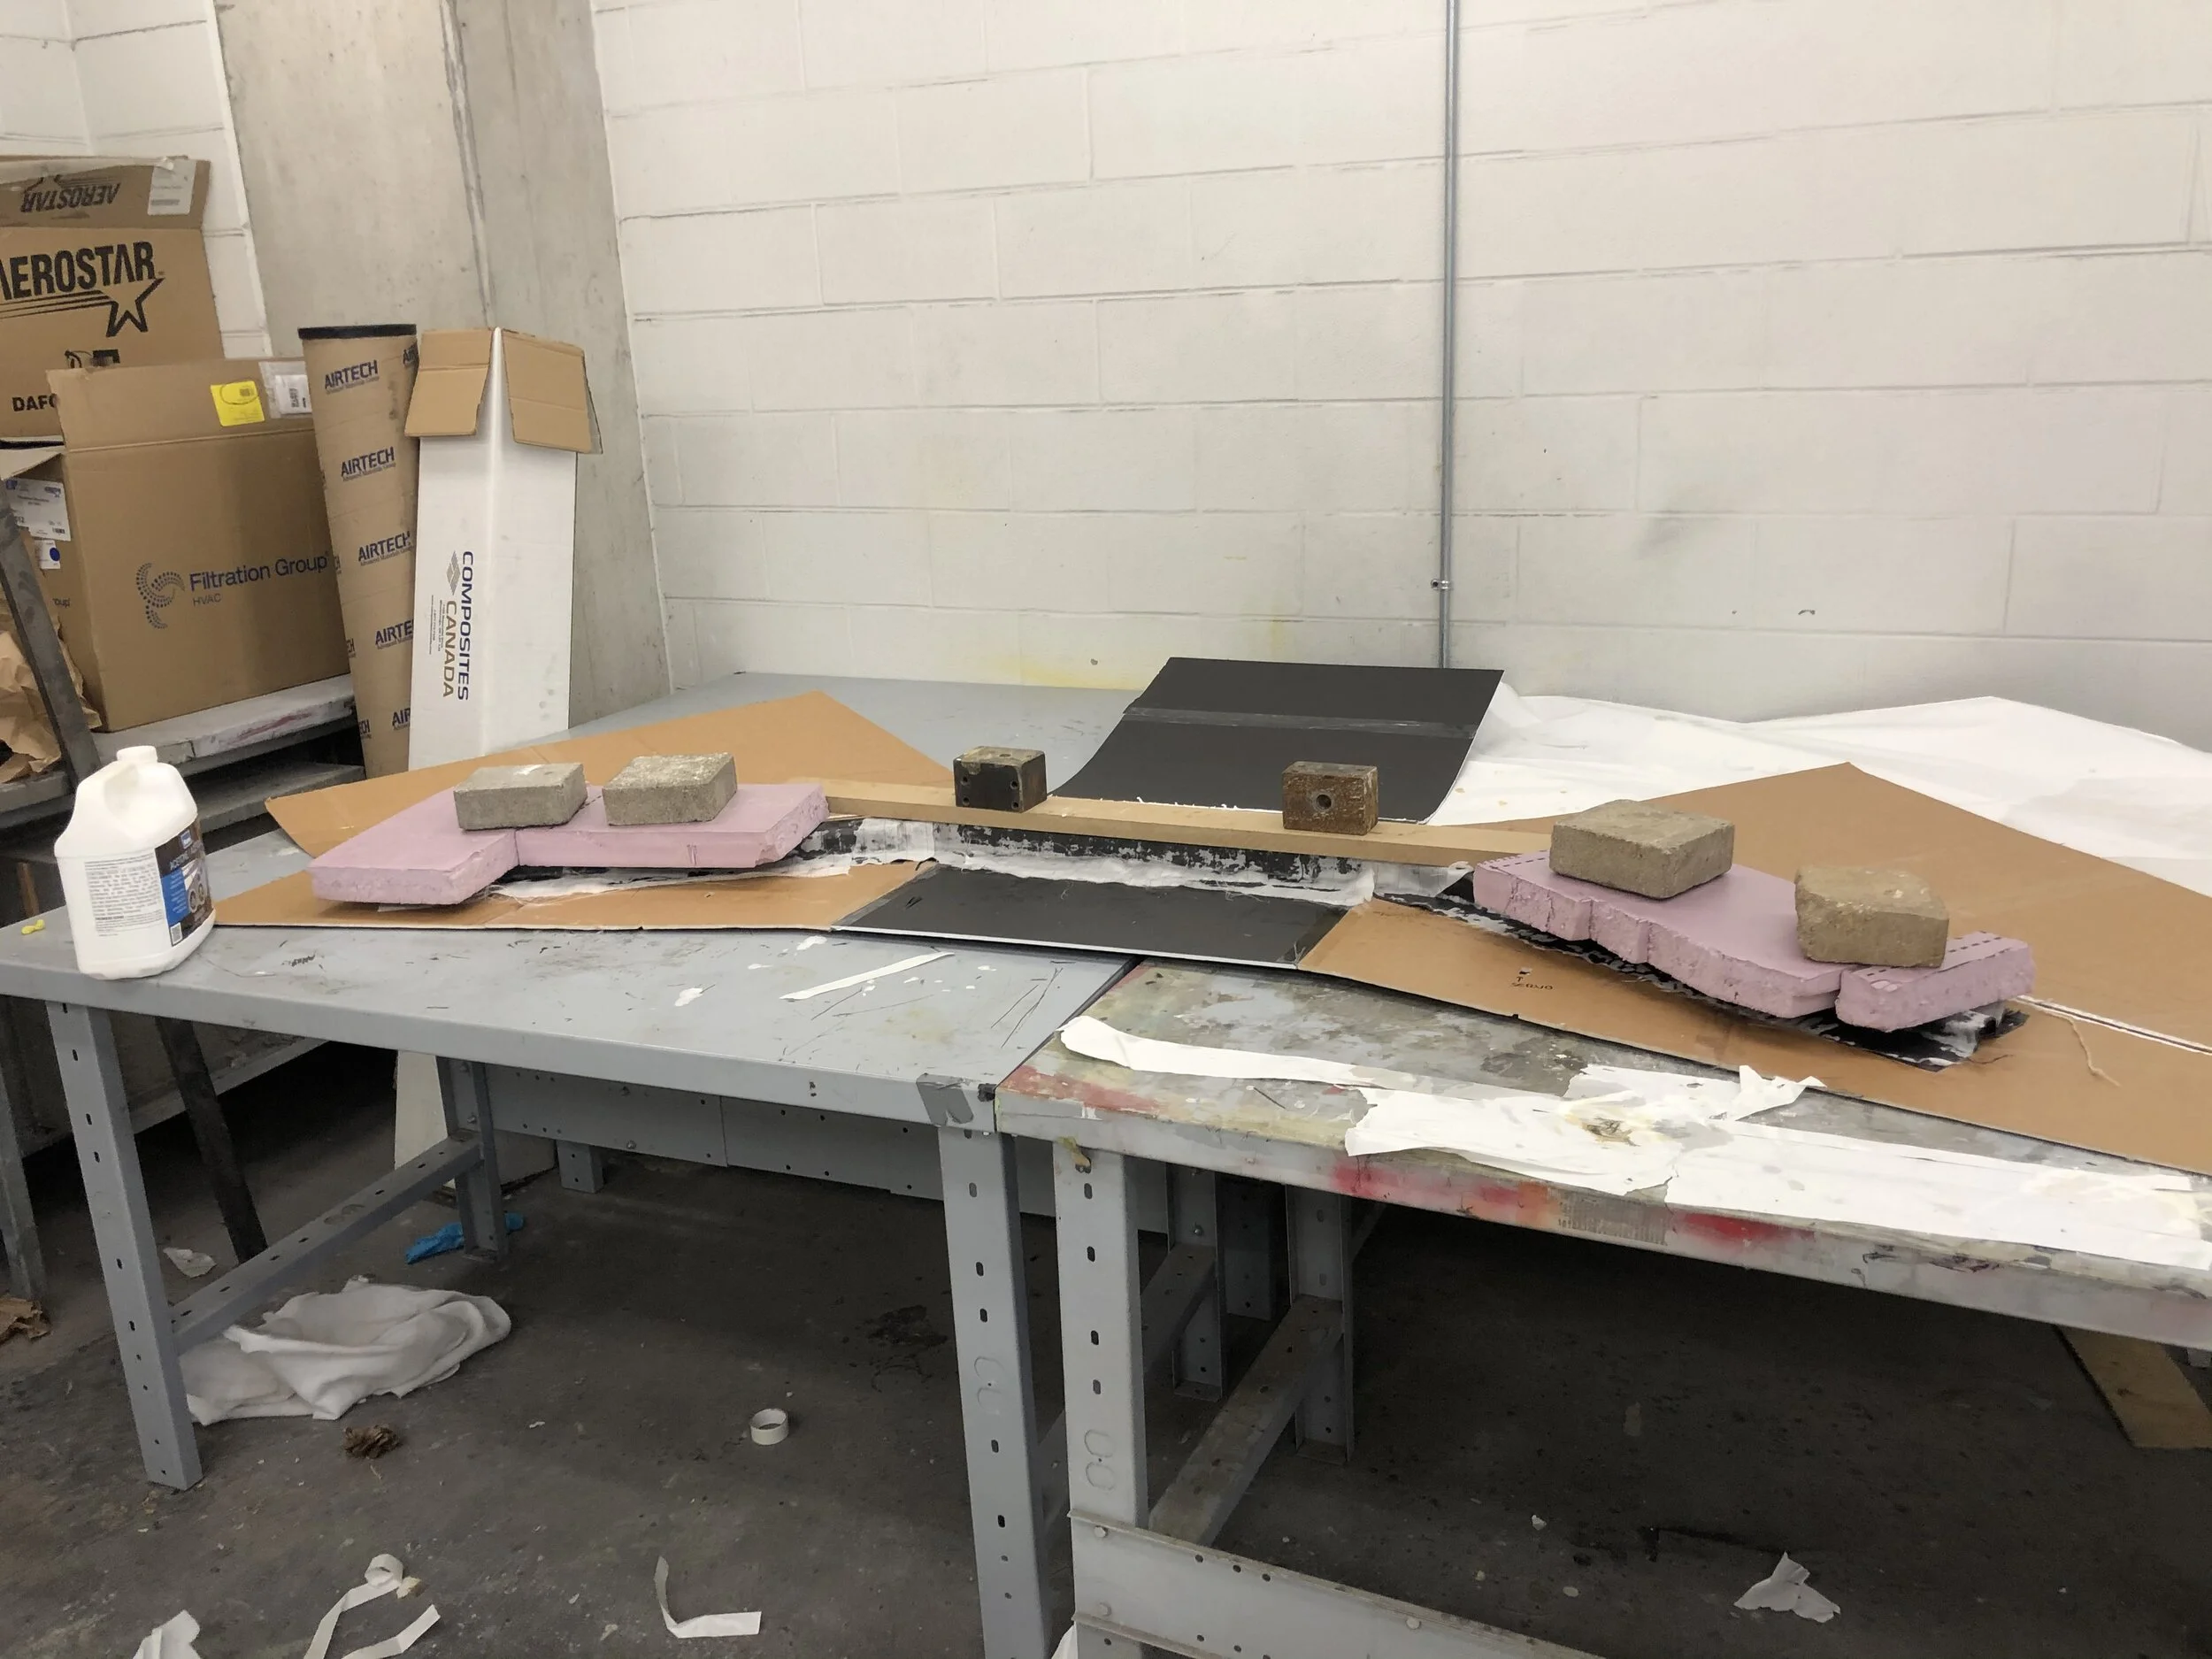
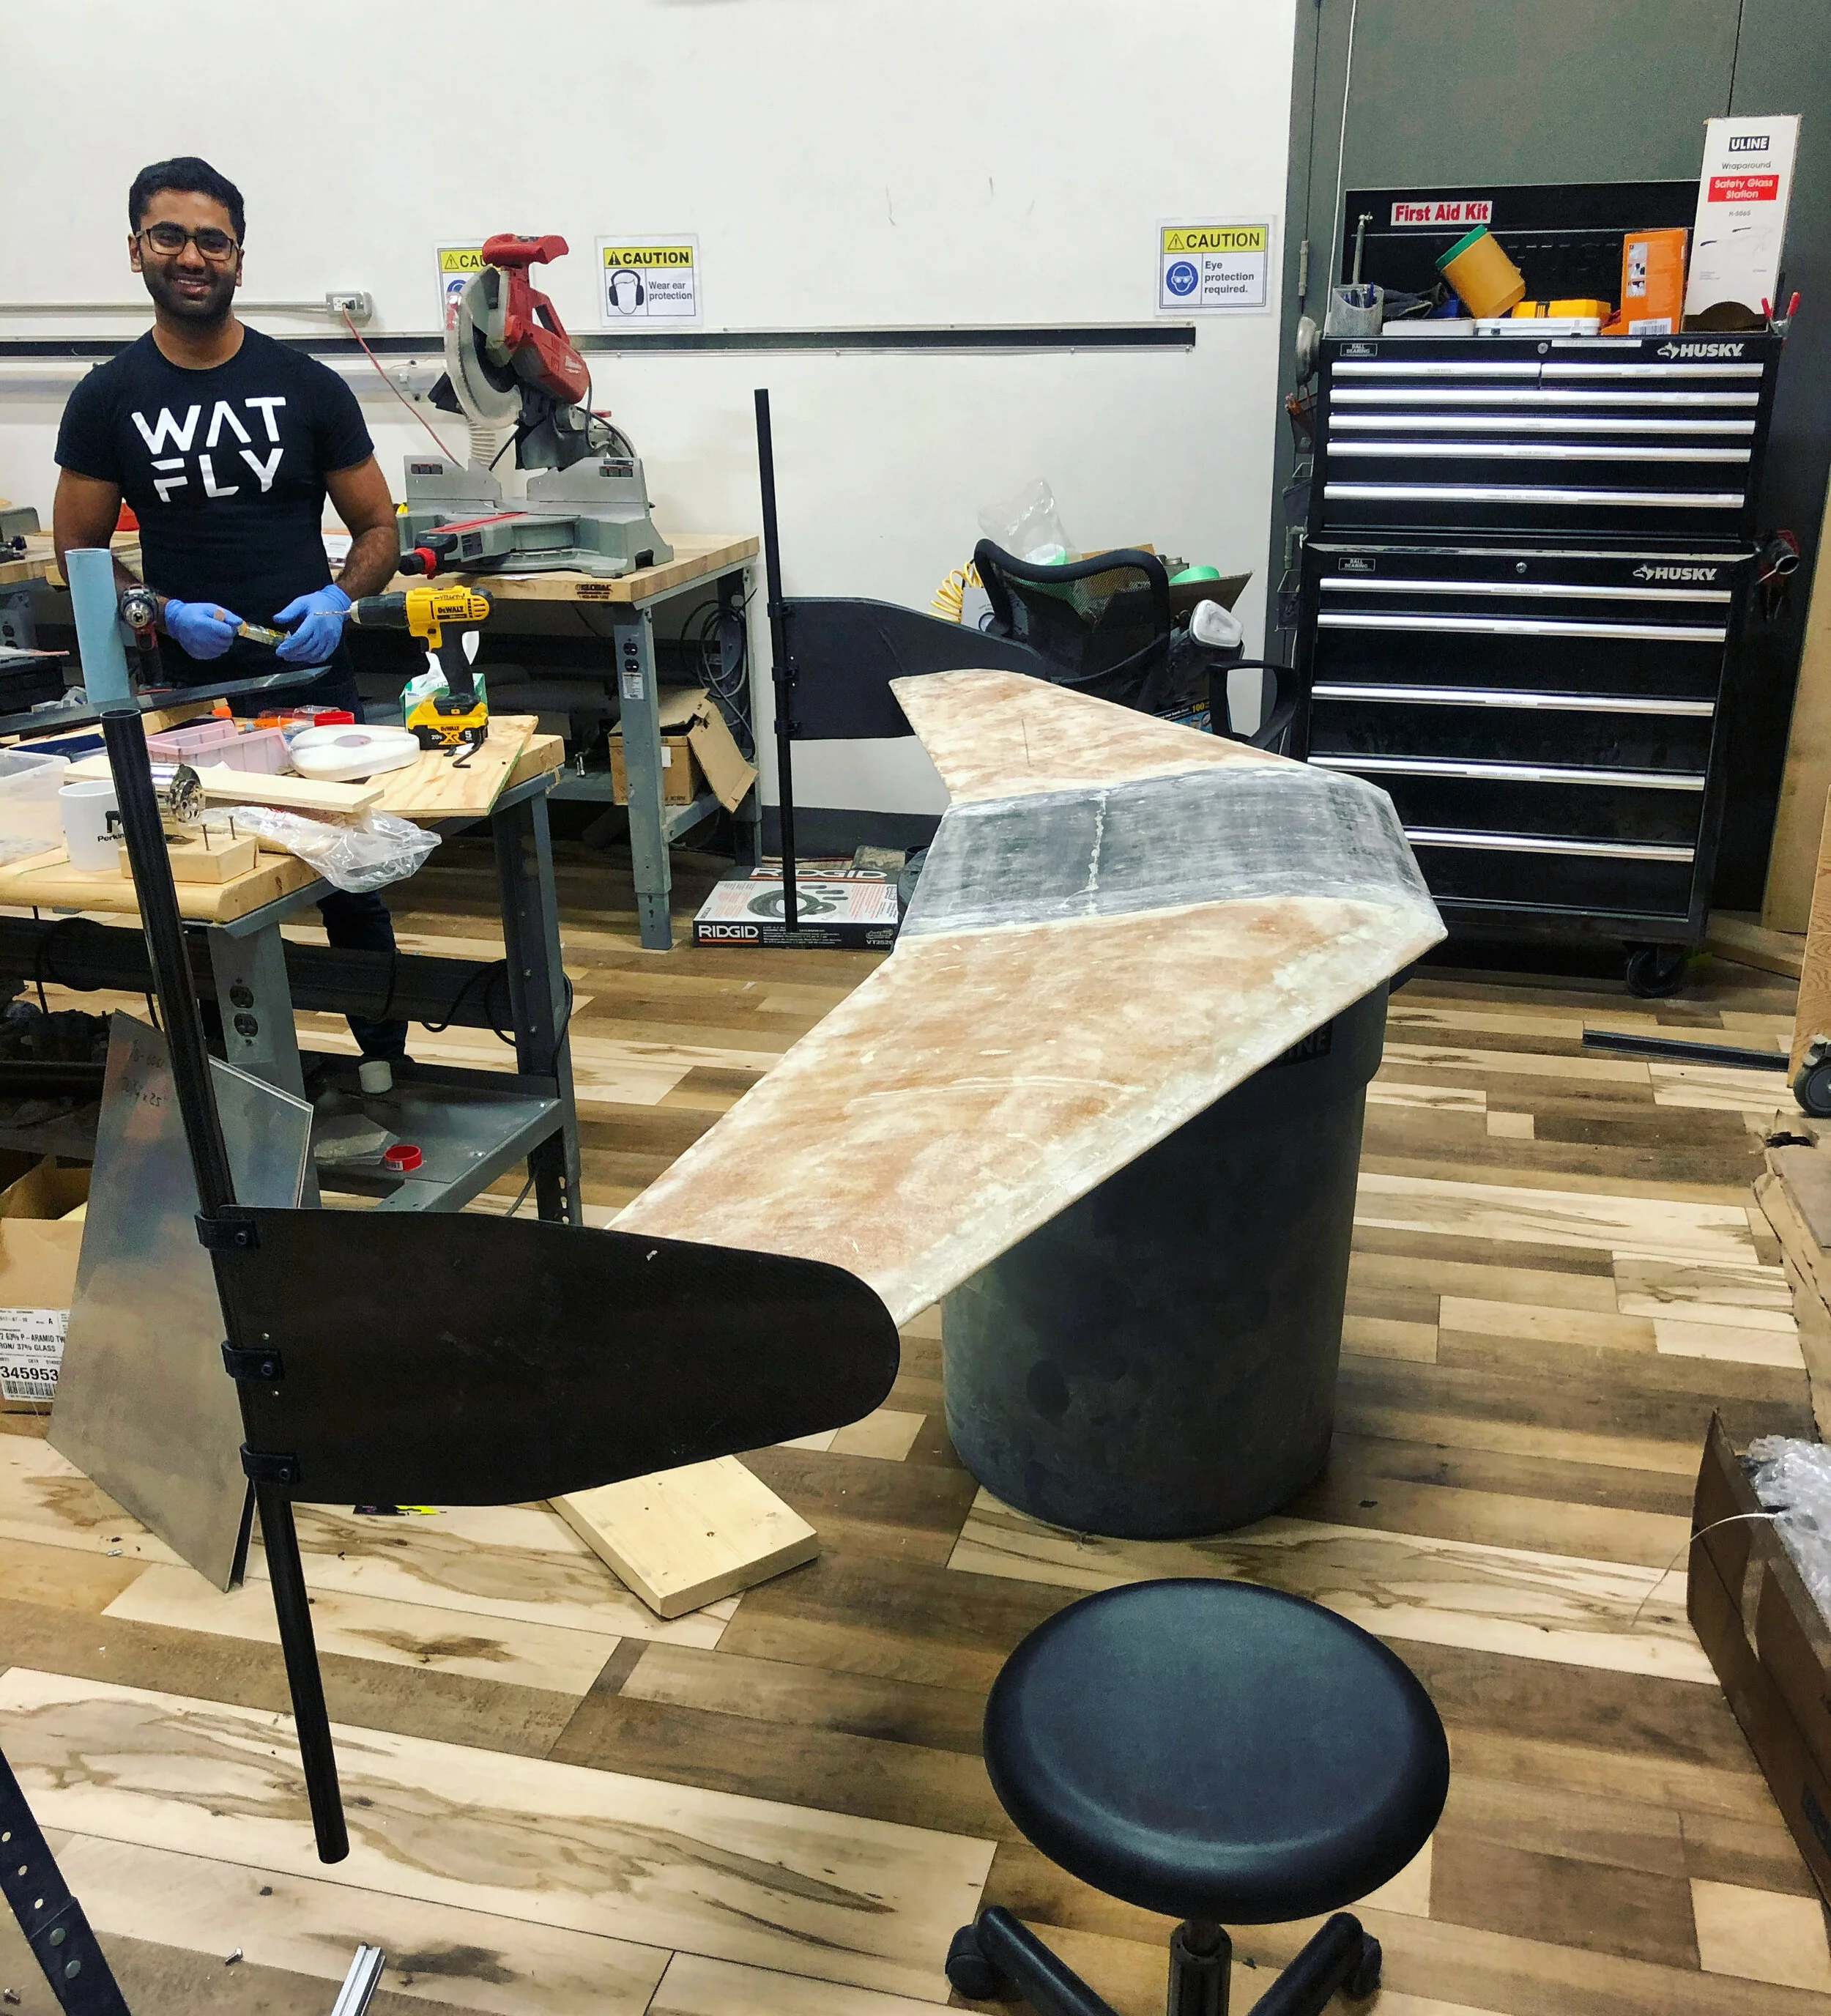
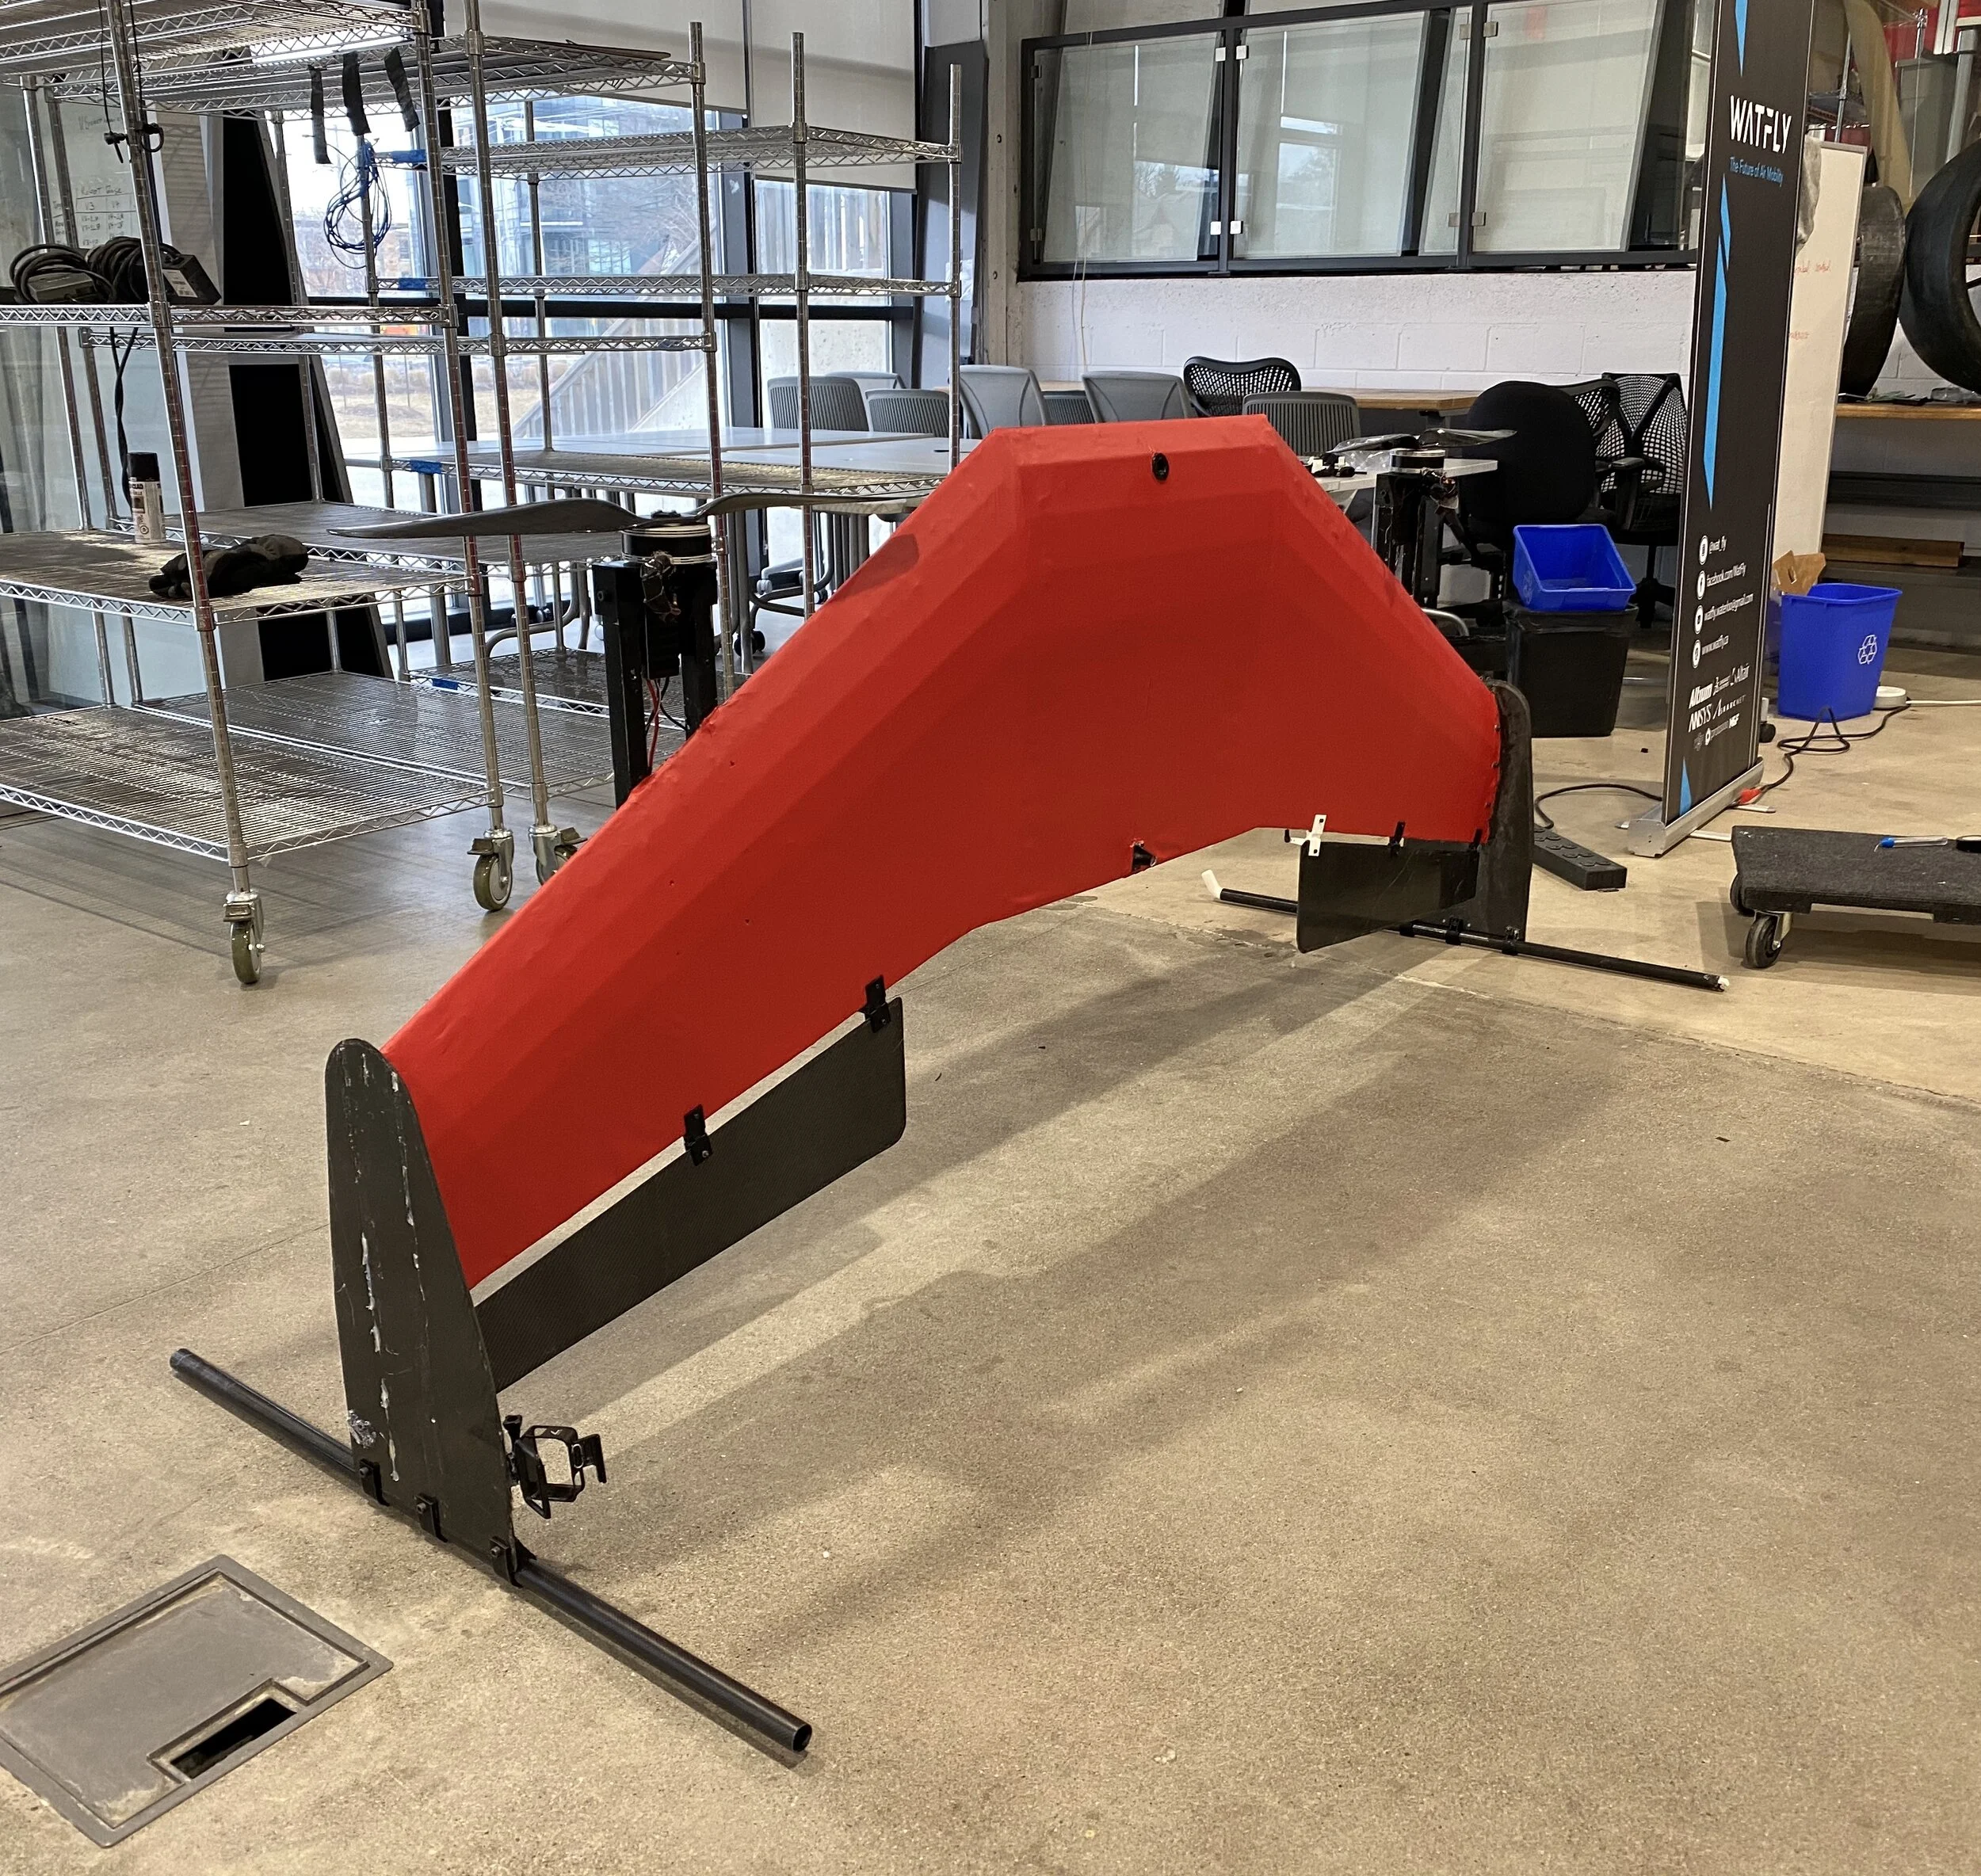
With a fresh cheque from winning a pitch competition, we got to work on scaling up our tiny 2 feet wingspan drone. We designed the next iteration to be the geometric 1/2 scale of the final aircraft which put us at an 8 feet wingspan. The fabrication method was similar to that of the smaller drone: we would laser cut the entire airframe out of 1/4” foam board and tape it together, this included the interior spar structure as shown below. We would then reinforce the spar with carbon fibre, and wrap the entire airframe in fibreglass.
The winglets / landing gear and control structures would be carbon fibre composite sandwiches, with a balsa wood core that we would laser cut to the exact shapes. We would then extend the landing gear foot print using pultruded carbon tubes, which are widely available online. Tubes were attached via 3D printed brackets, the idea was that the brackets would break before they can transfer enough load to harm the wing.
The motors were mounted onto 3D printed hubs with an in-between sheet metal part which served as heat sink, the hubs would attach to two aluminum extrusions which were bonded onto the wing’s outer fibreglass surface.
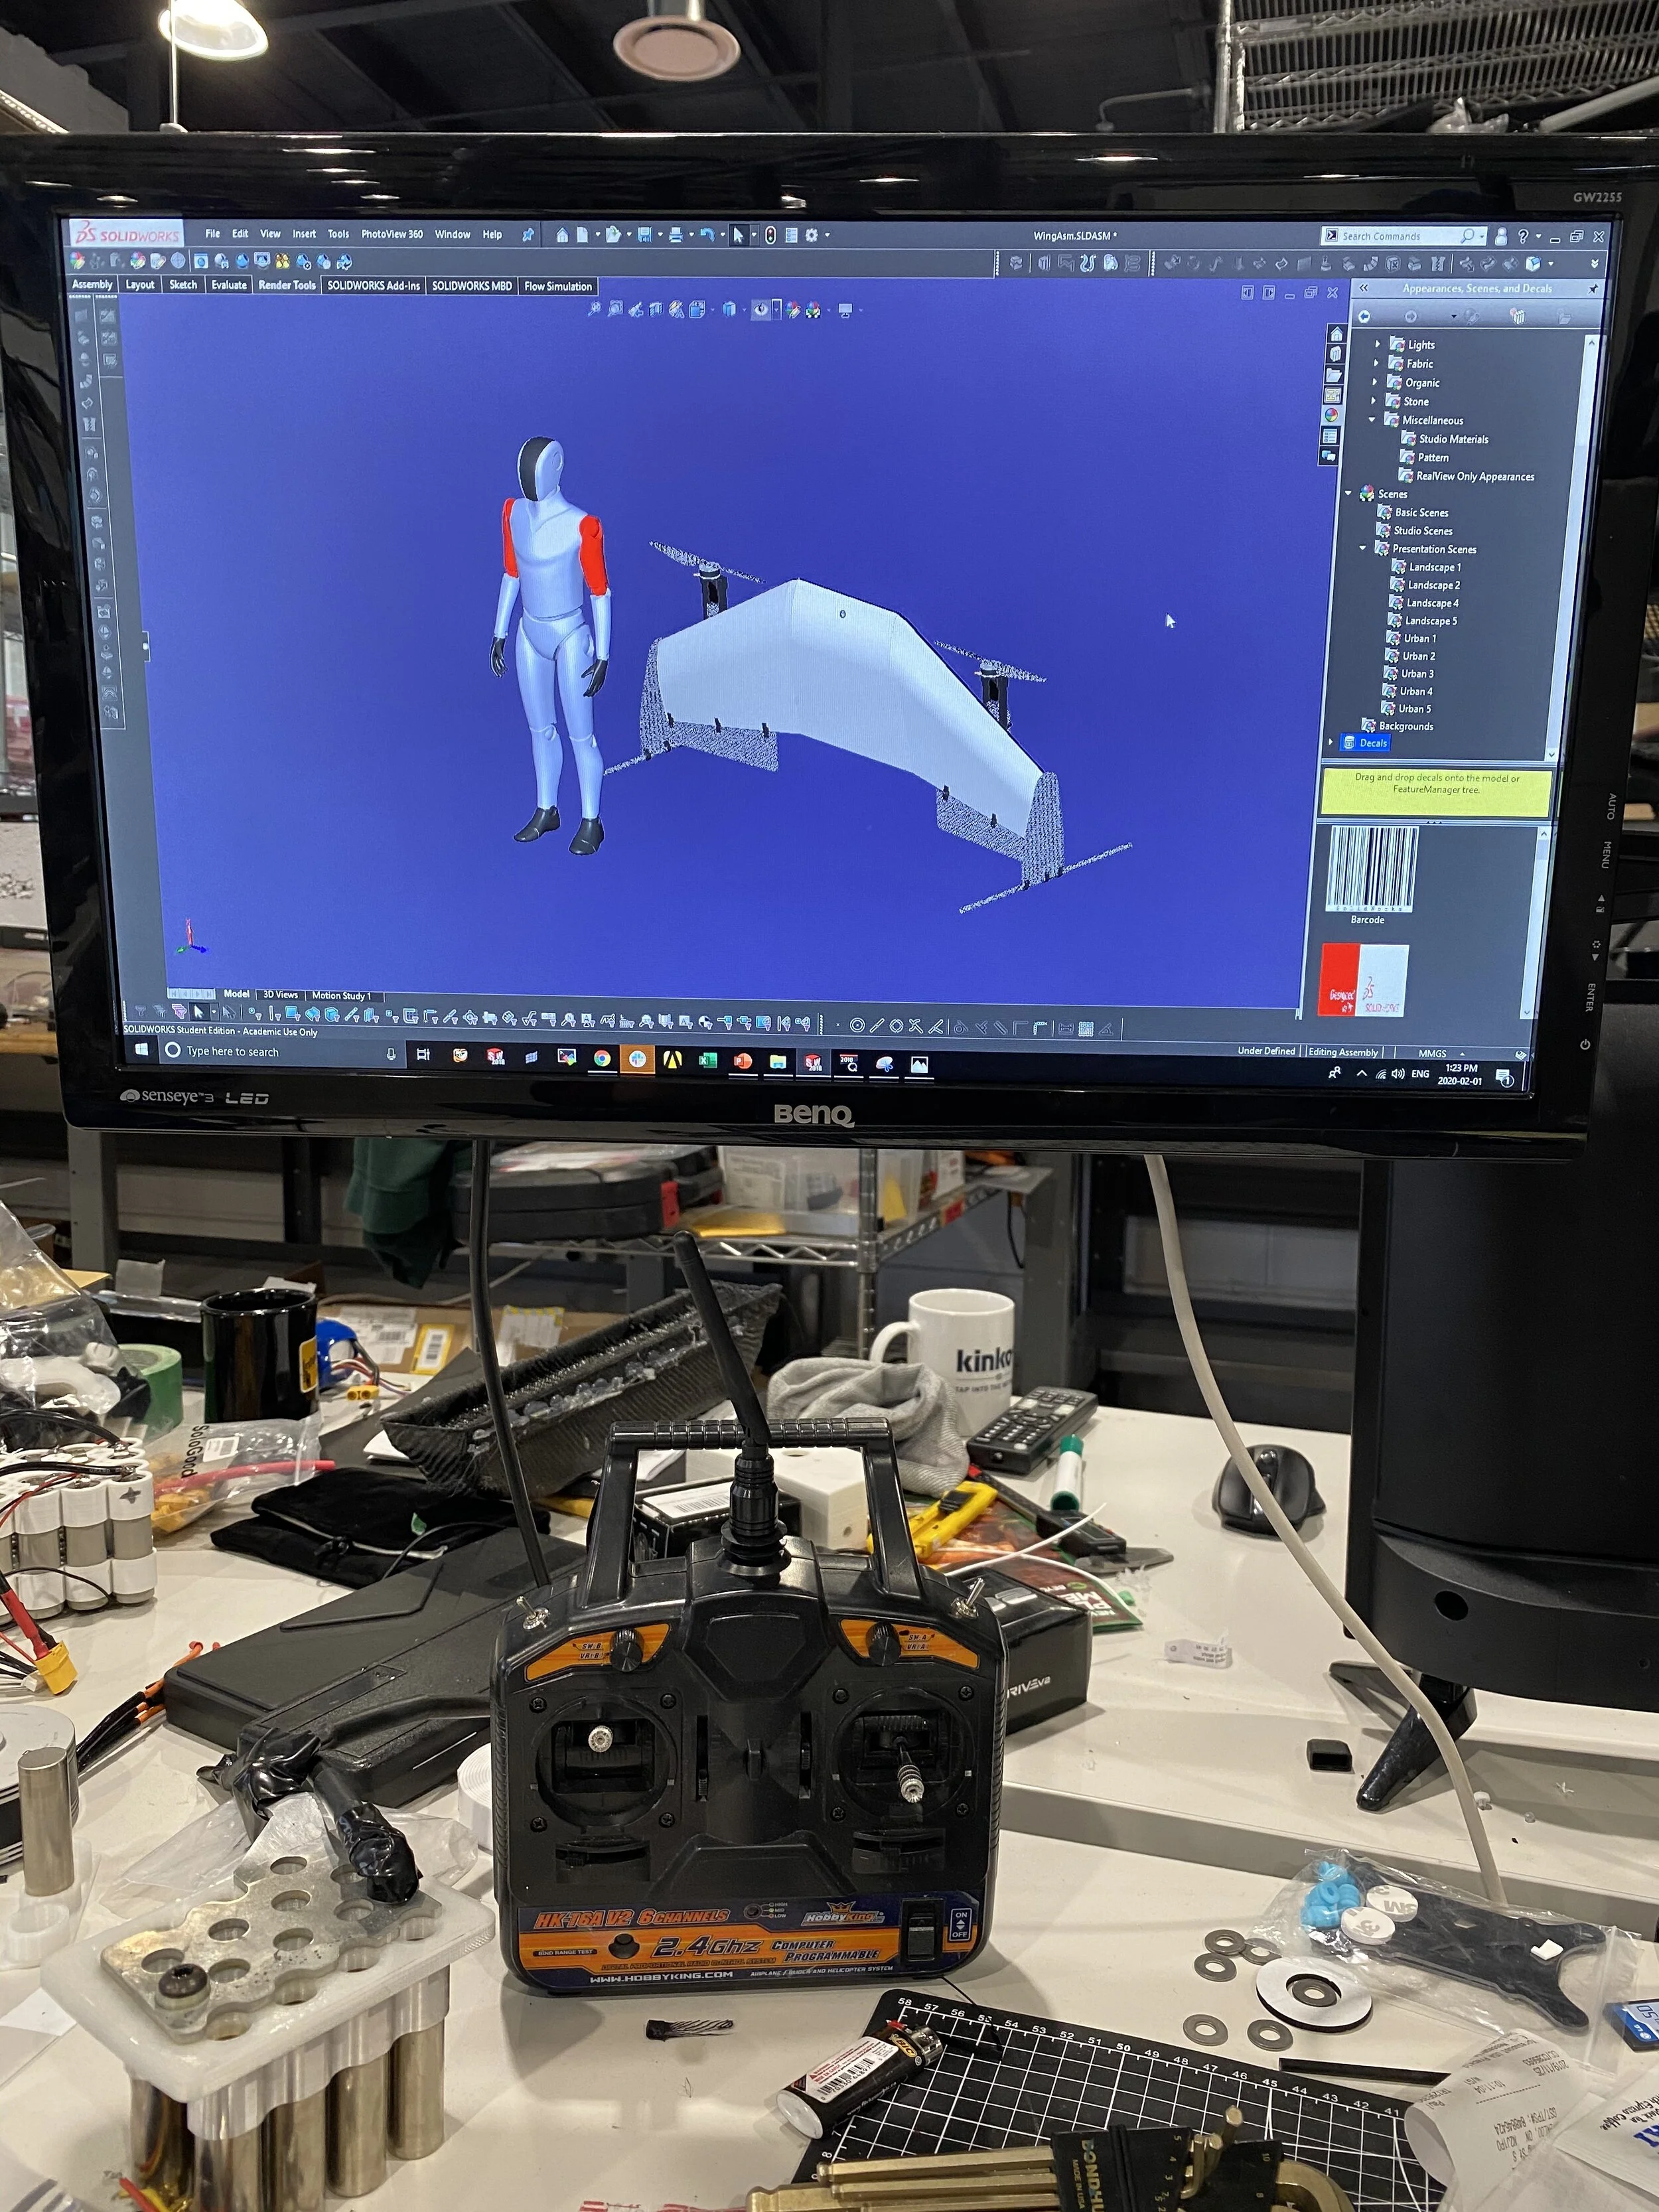
3D CAD of the 1/2 scale drone.
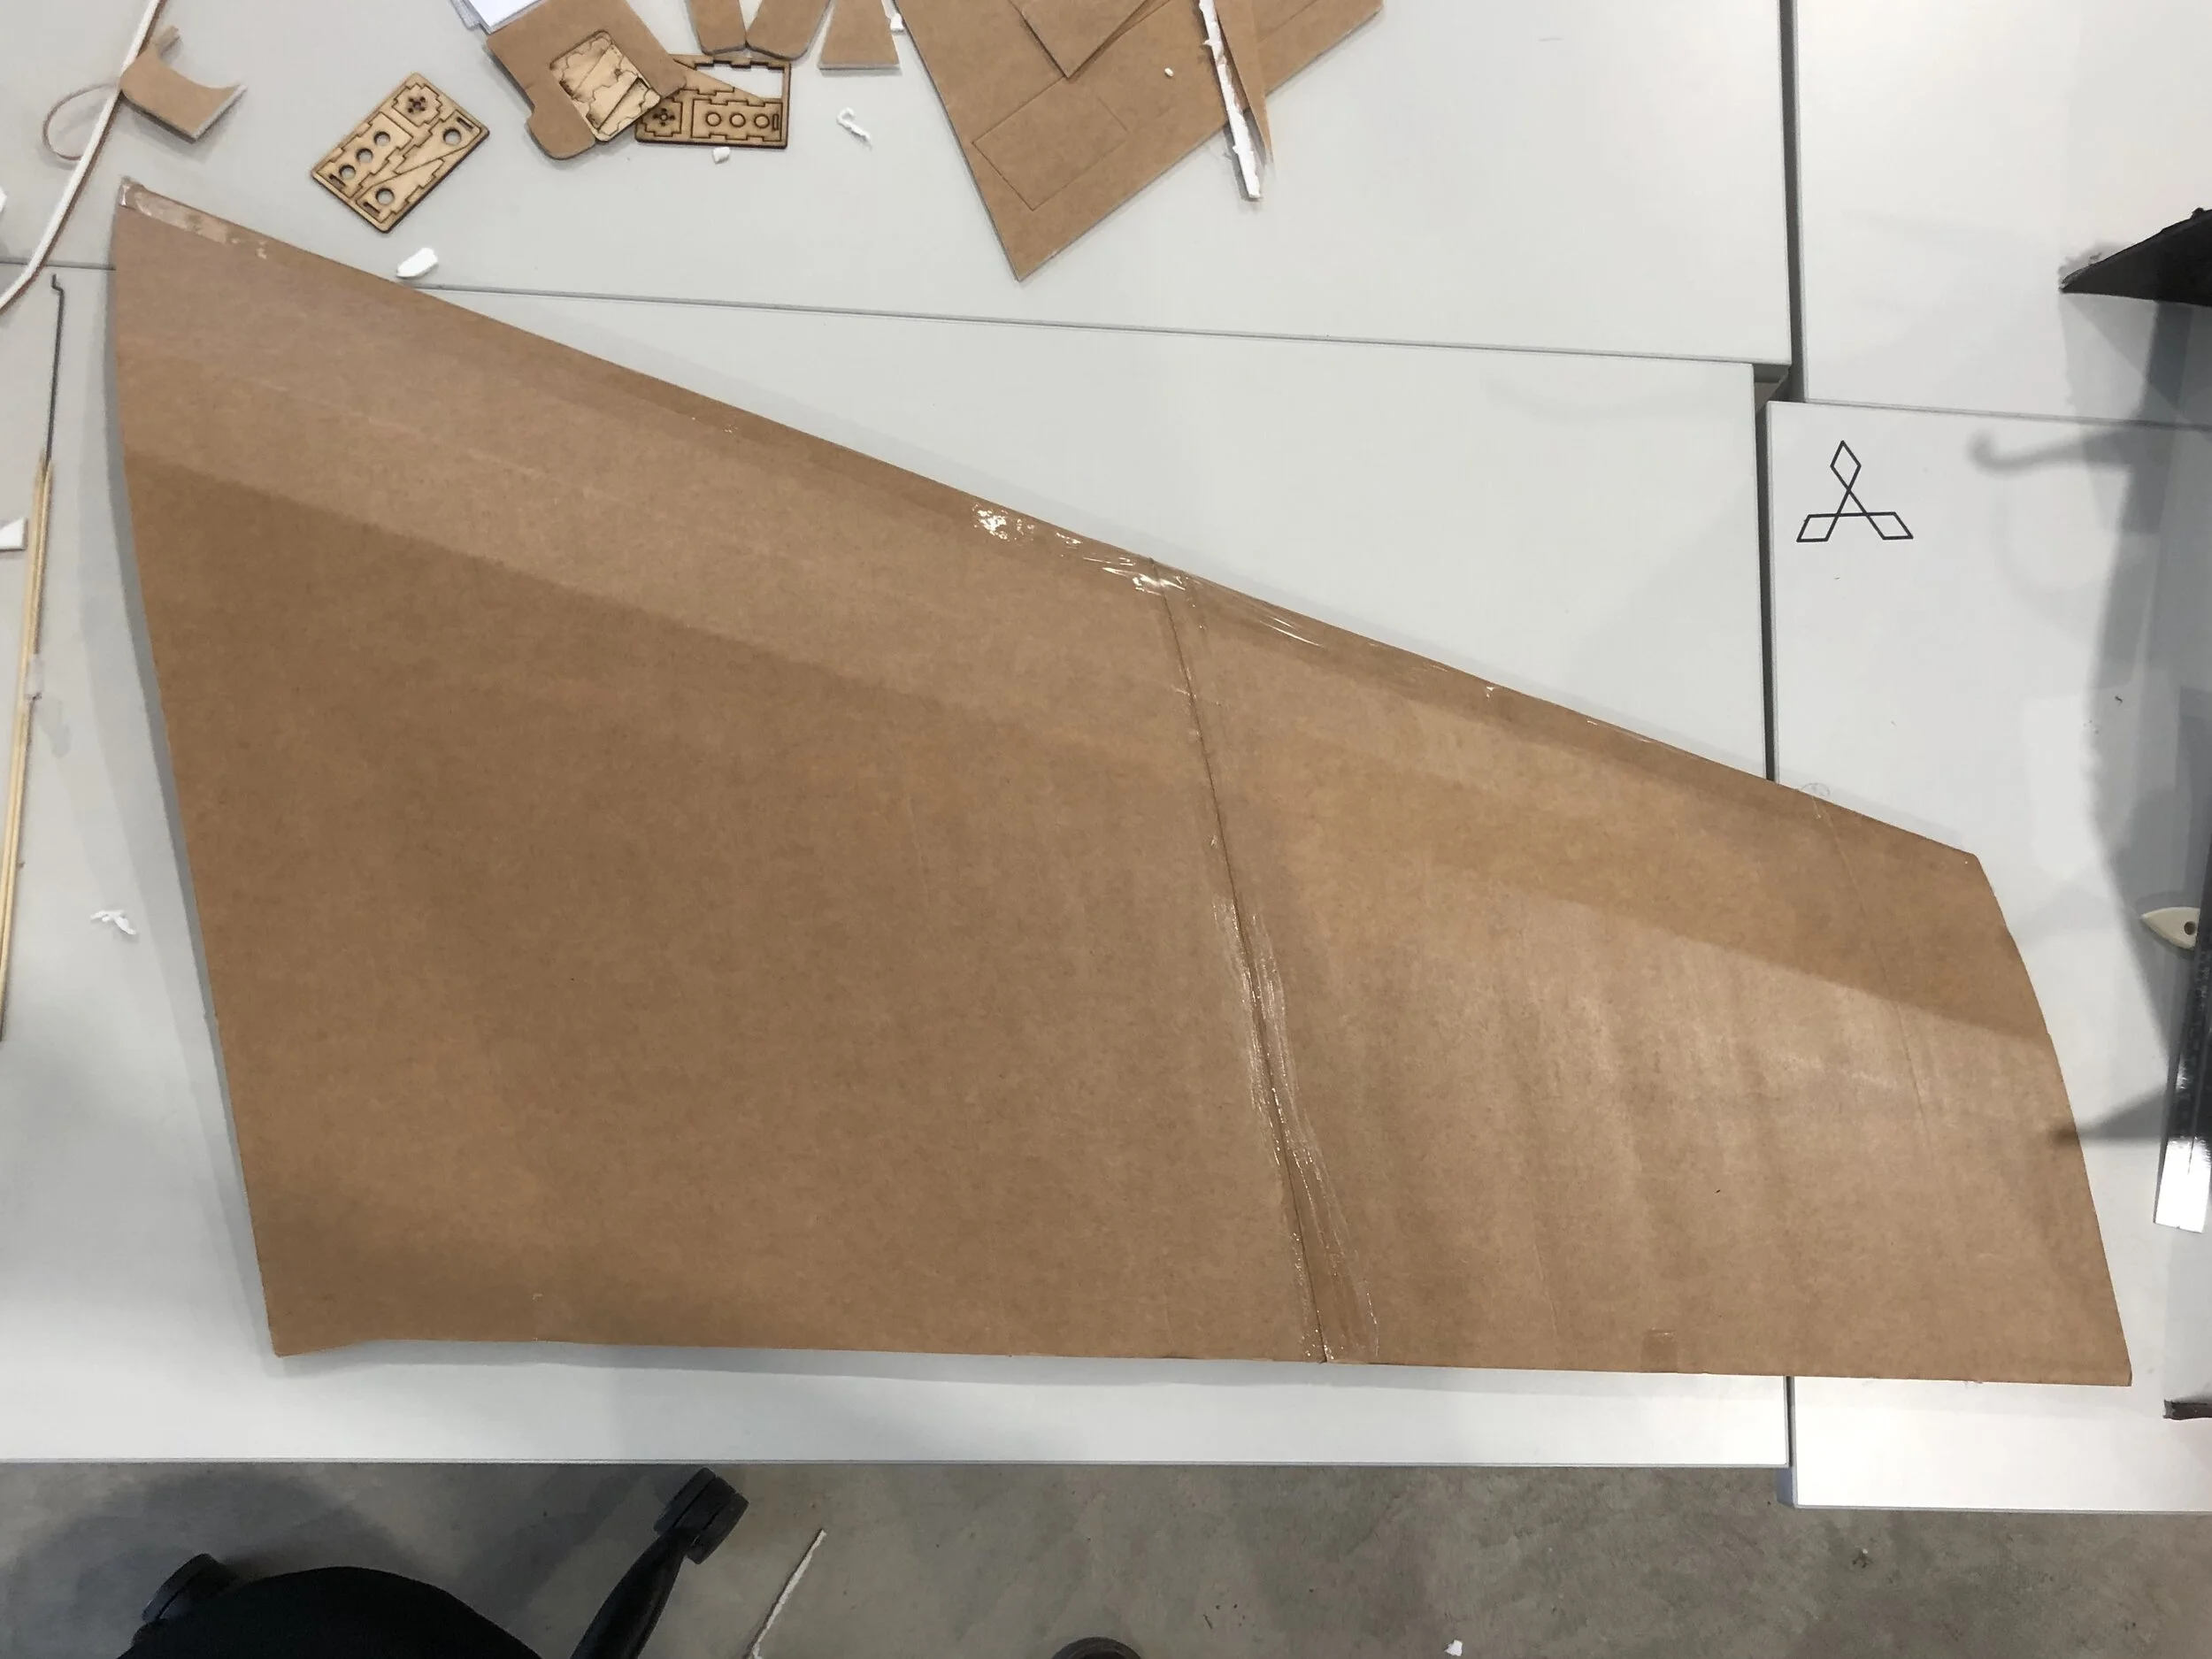
Laser cut wing top view.
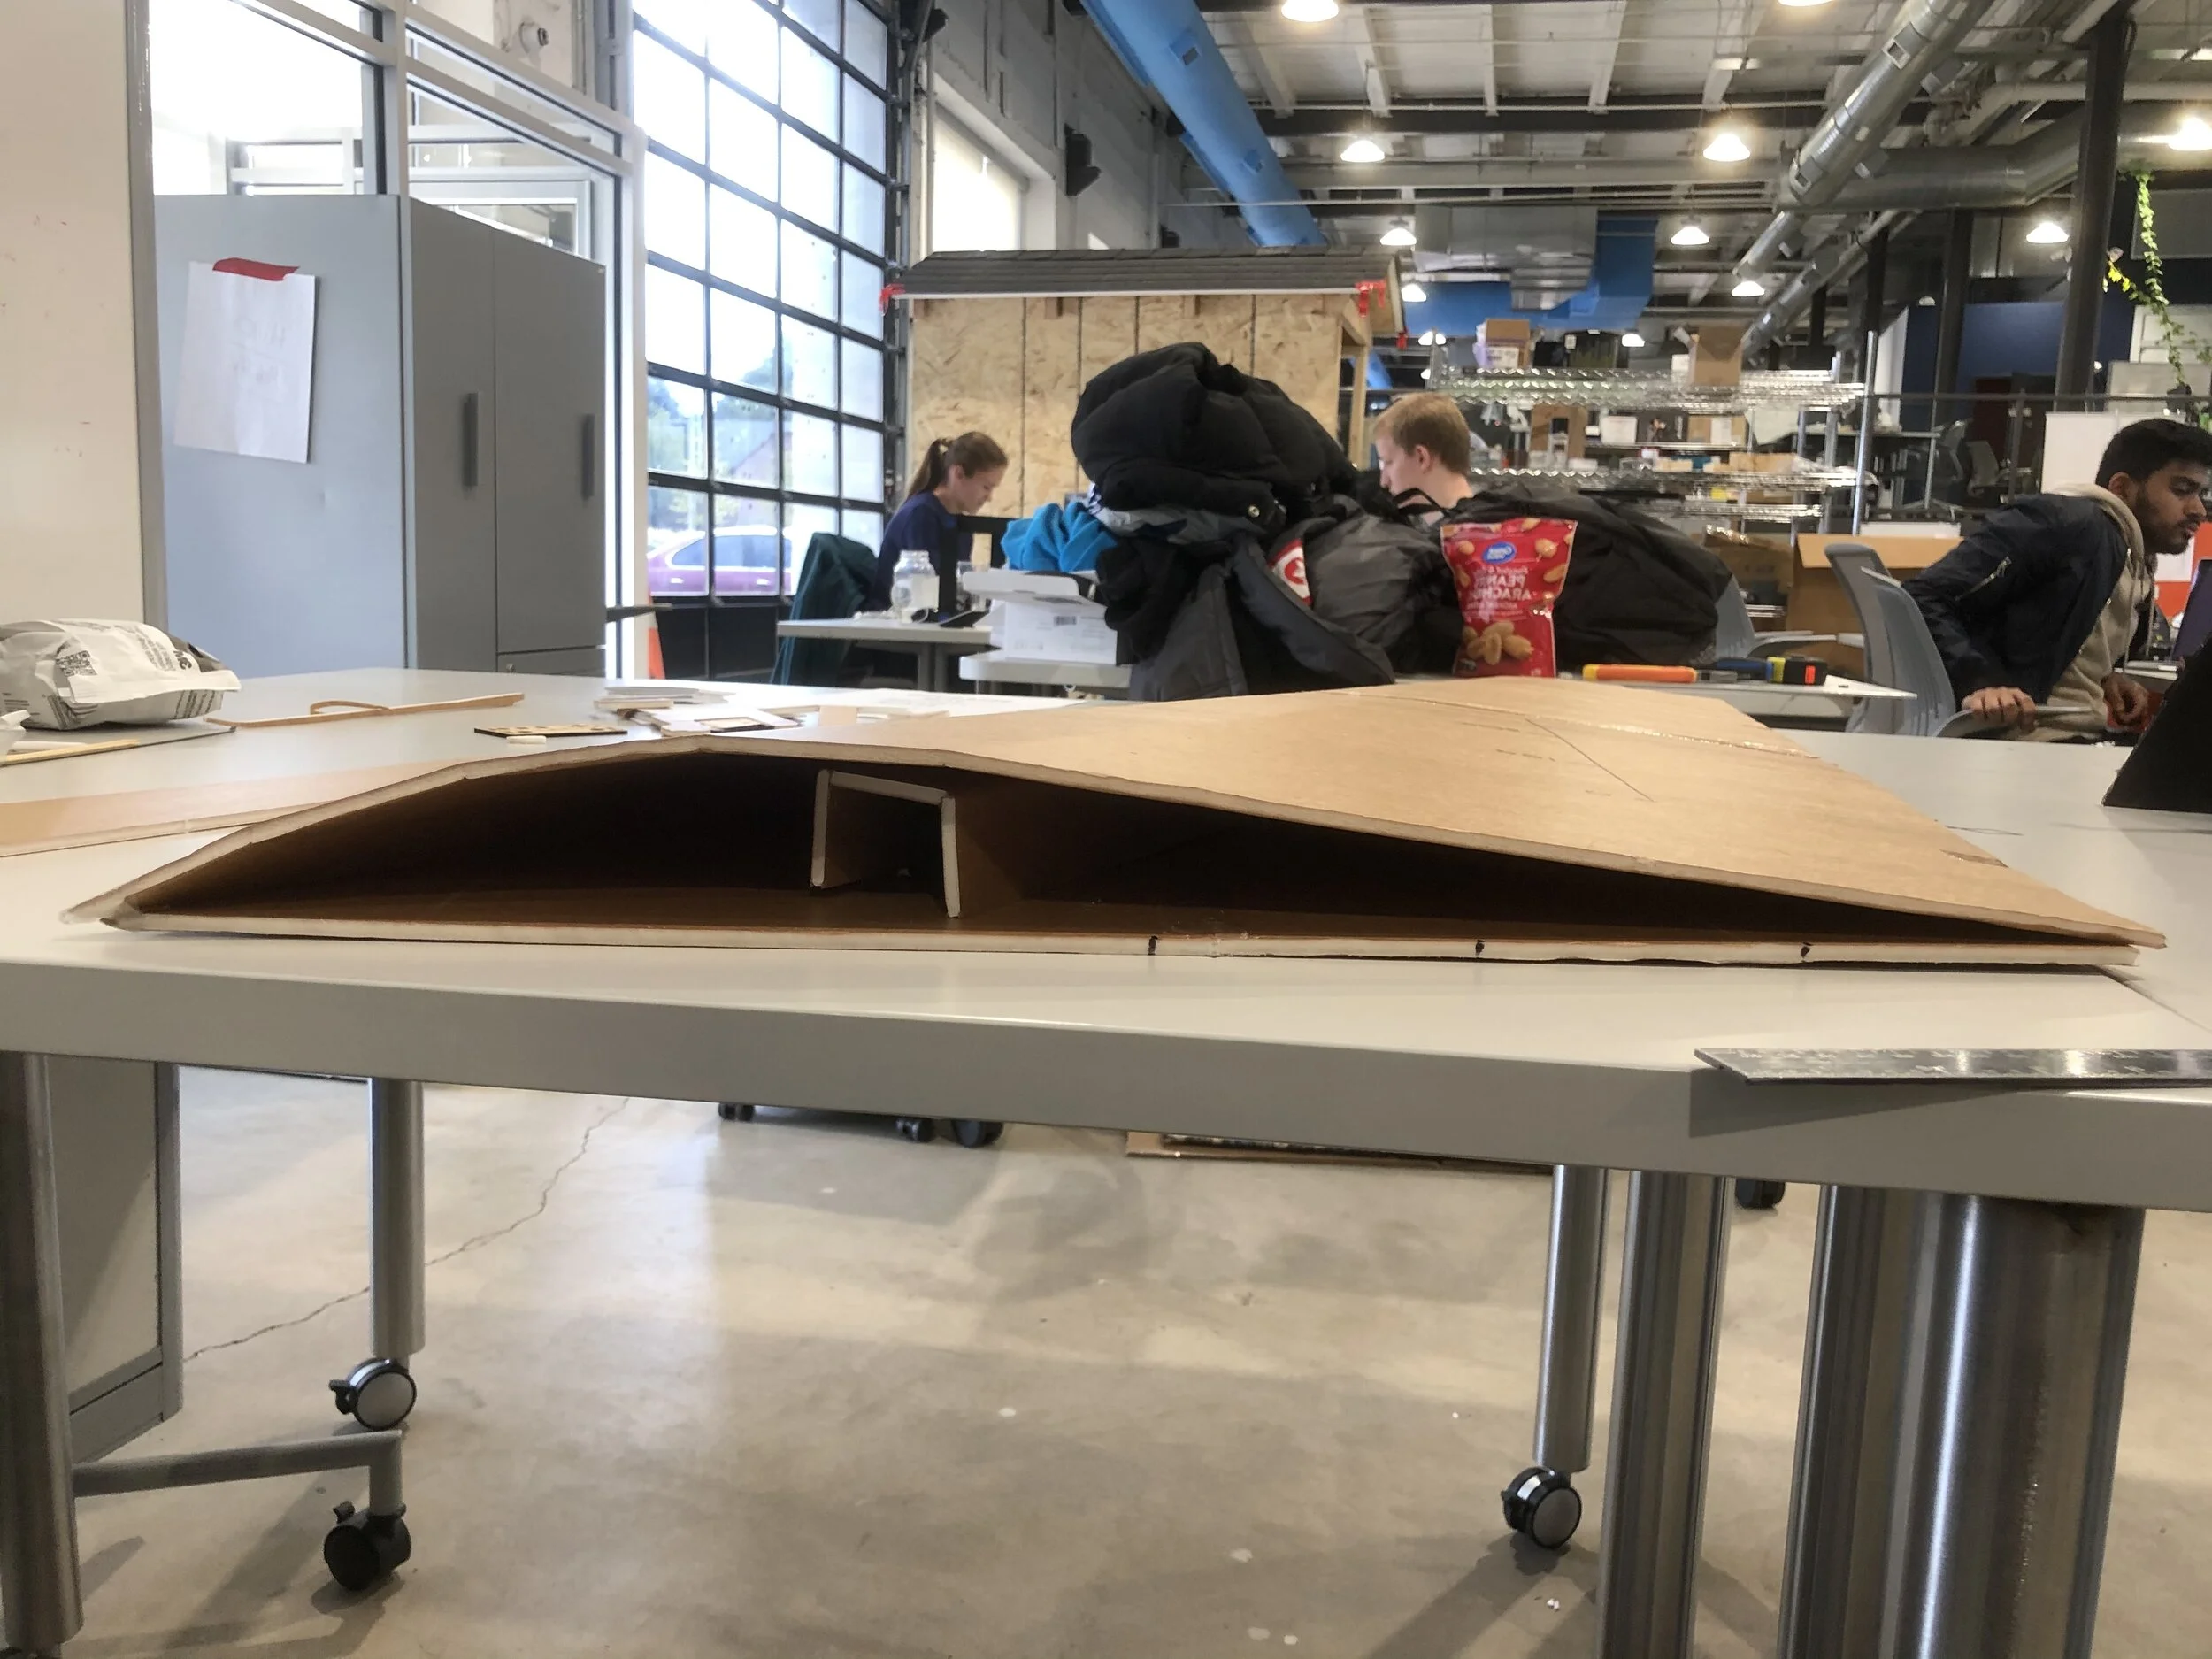
Laser cut wing cross section.
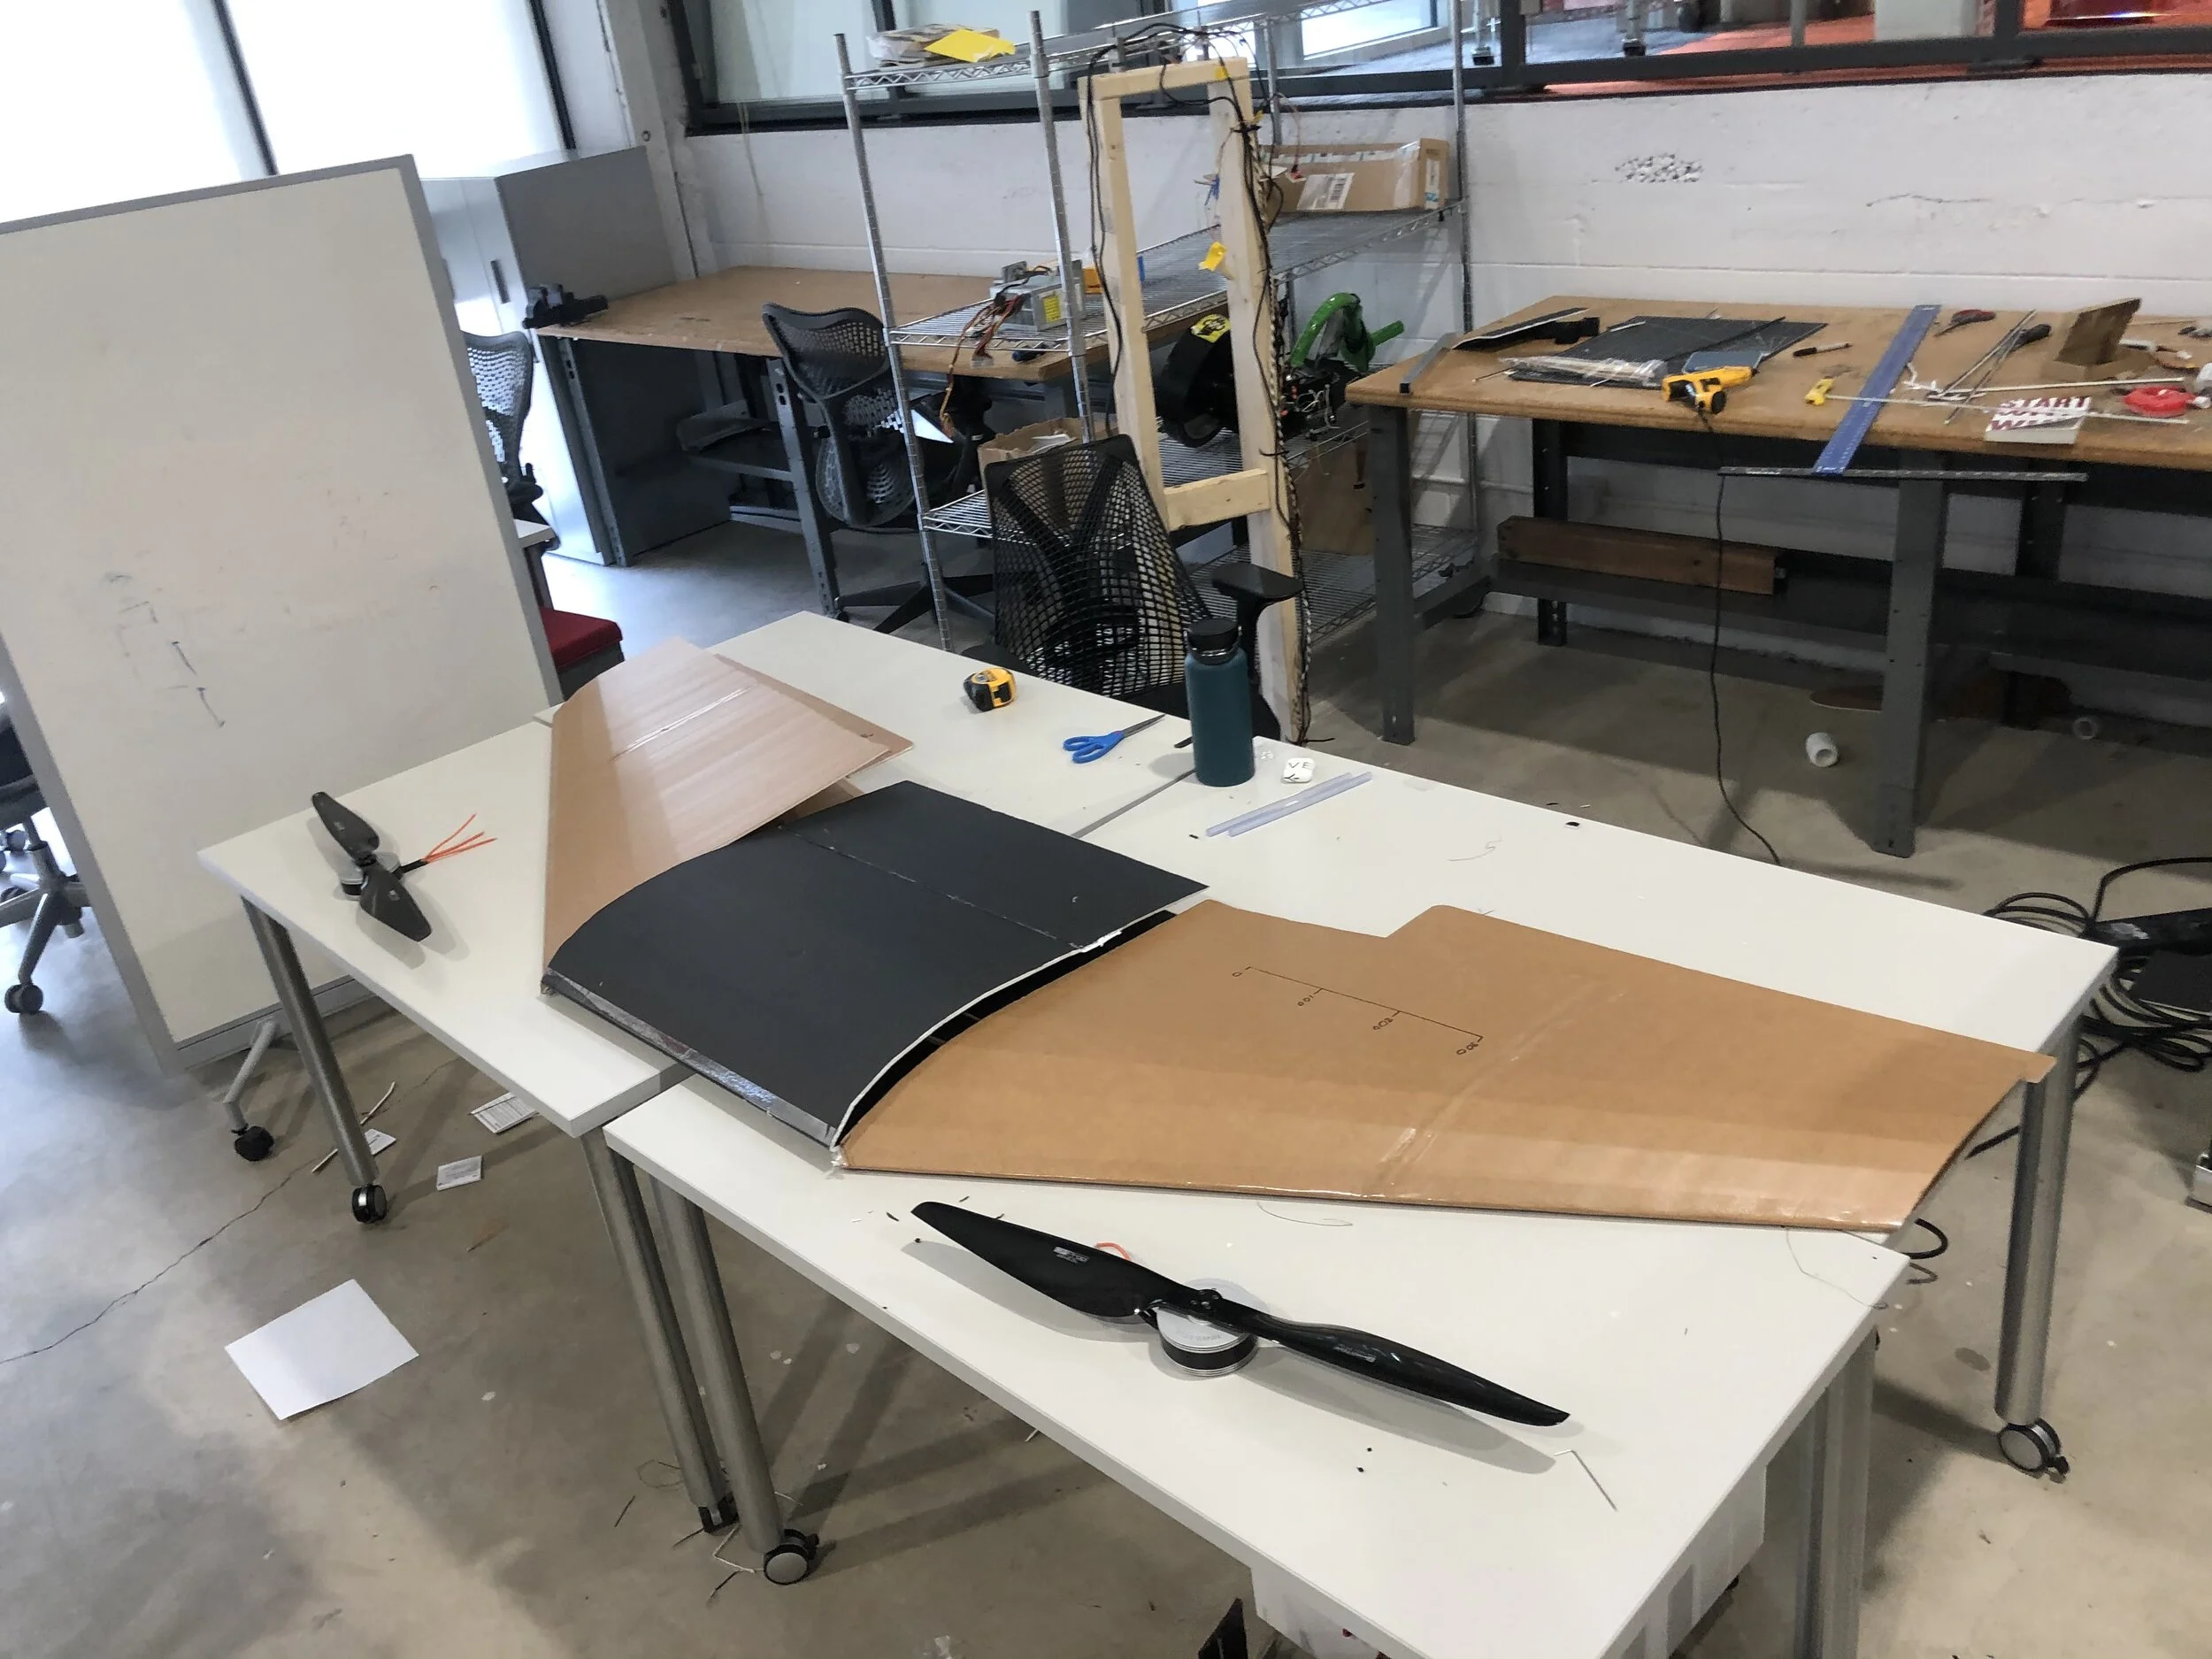
Because the airframe foam structure was not stiff or strong enough, we did not pull vacuum during the reinforcement layups but rather relied on alternative methods for compressing the laminates, this was less than ideal in terms of mass reduction and fibre alignment. Other structures including the carbon fibre control surfaces and winglets did go under vacuum during the layup.
For the drivetrain we sourced T-Motor’s MN805-S KV150 motors and Flame 100A HV controllers. We could produce over 30kgf of combined thrust on a 42VDC 8kW system which would give us enough authority on our 20kg airframe. The propeller blades also came from T-Motor, and later we also got custom made propellers from Mejzlik in Europe. We had previously learnt that making propellers in-house requires top quality tooling and a good balancing process so we left this risk for later.
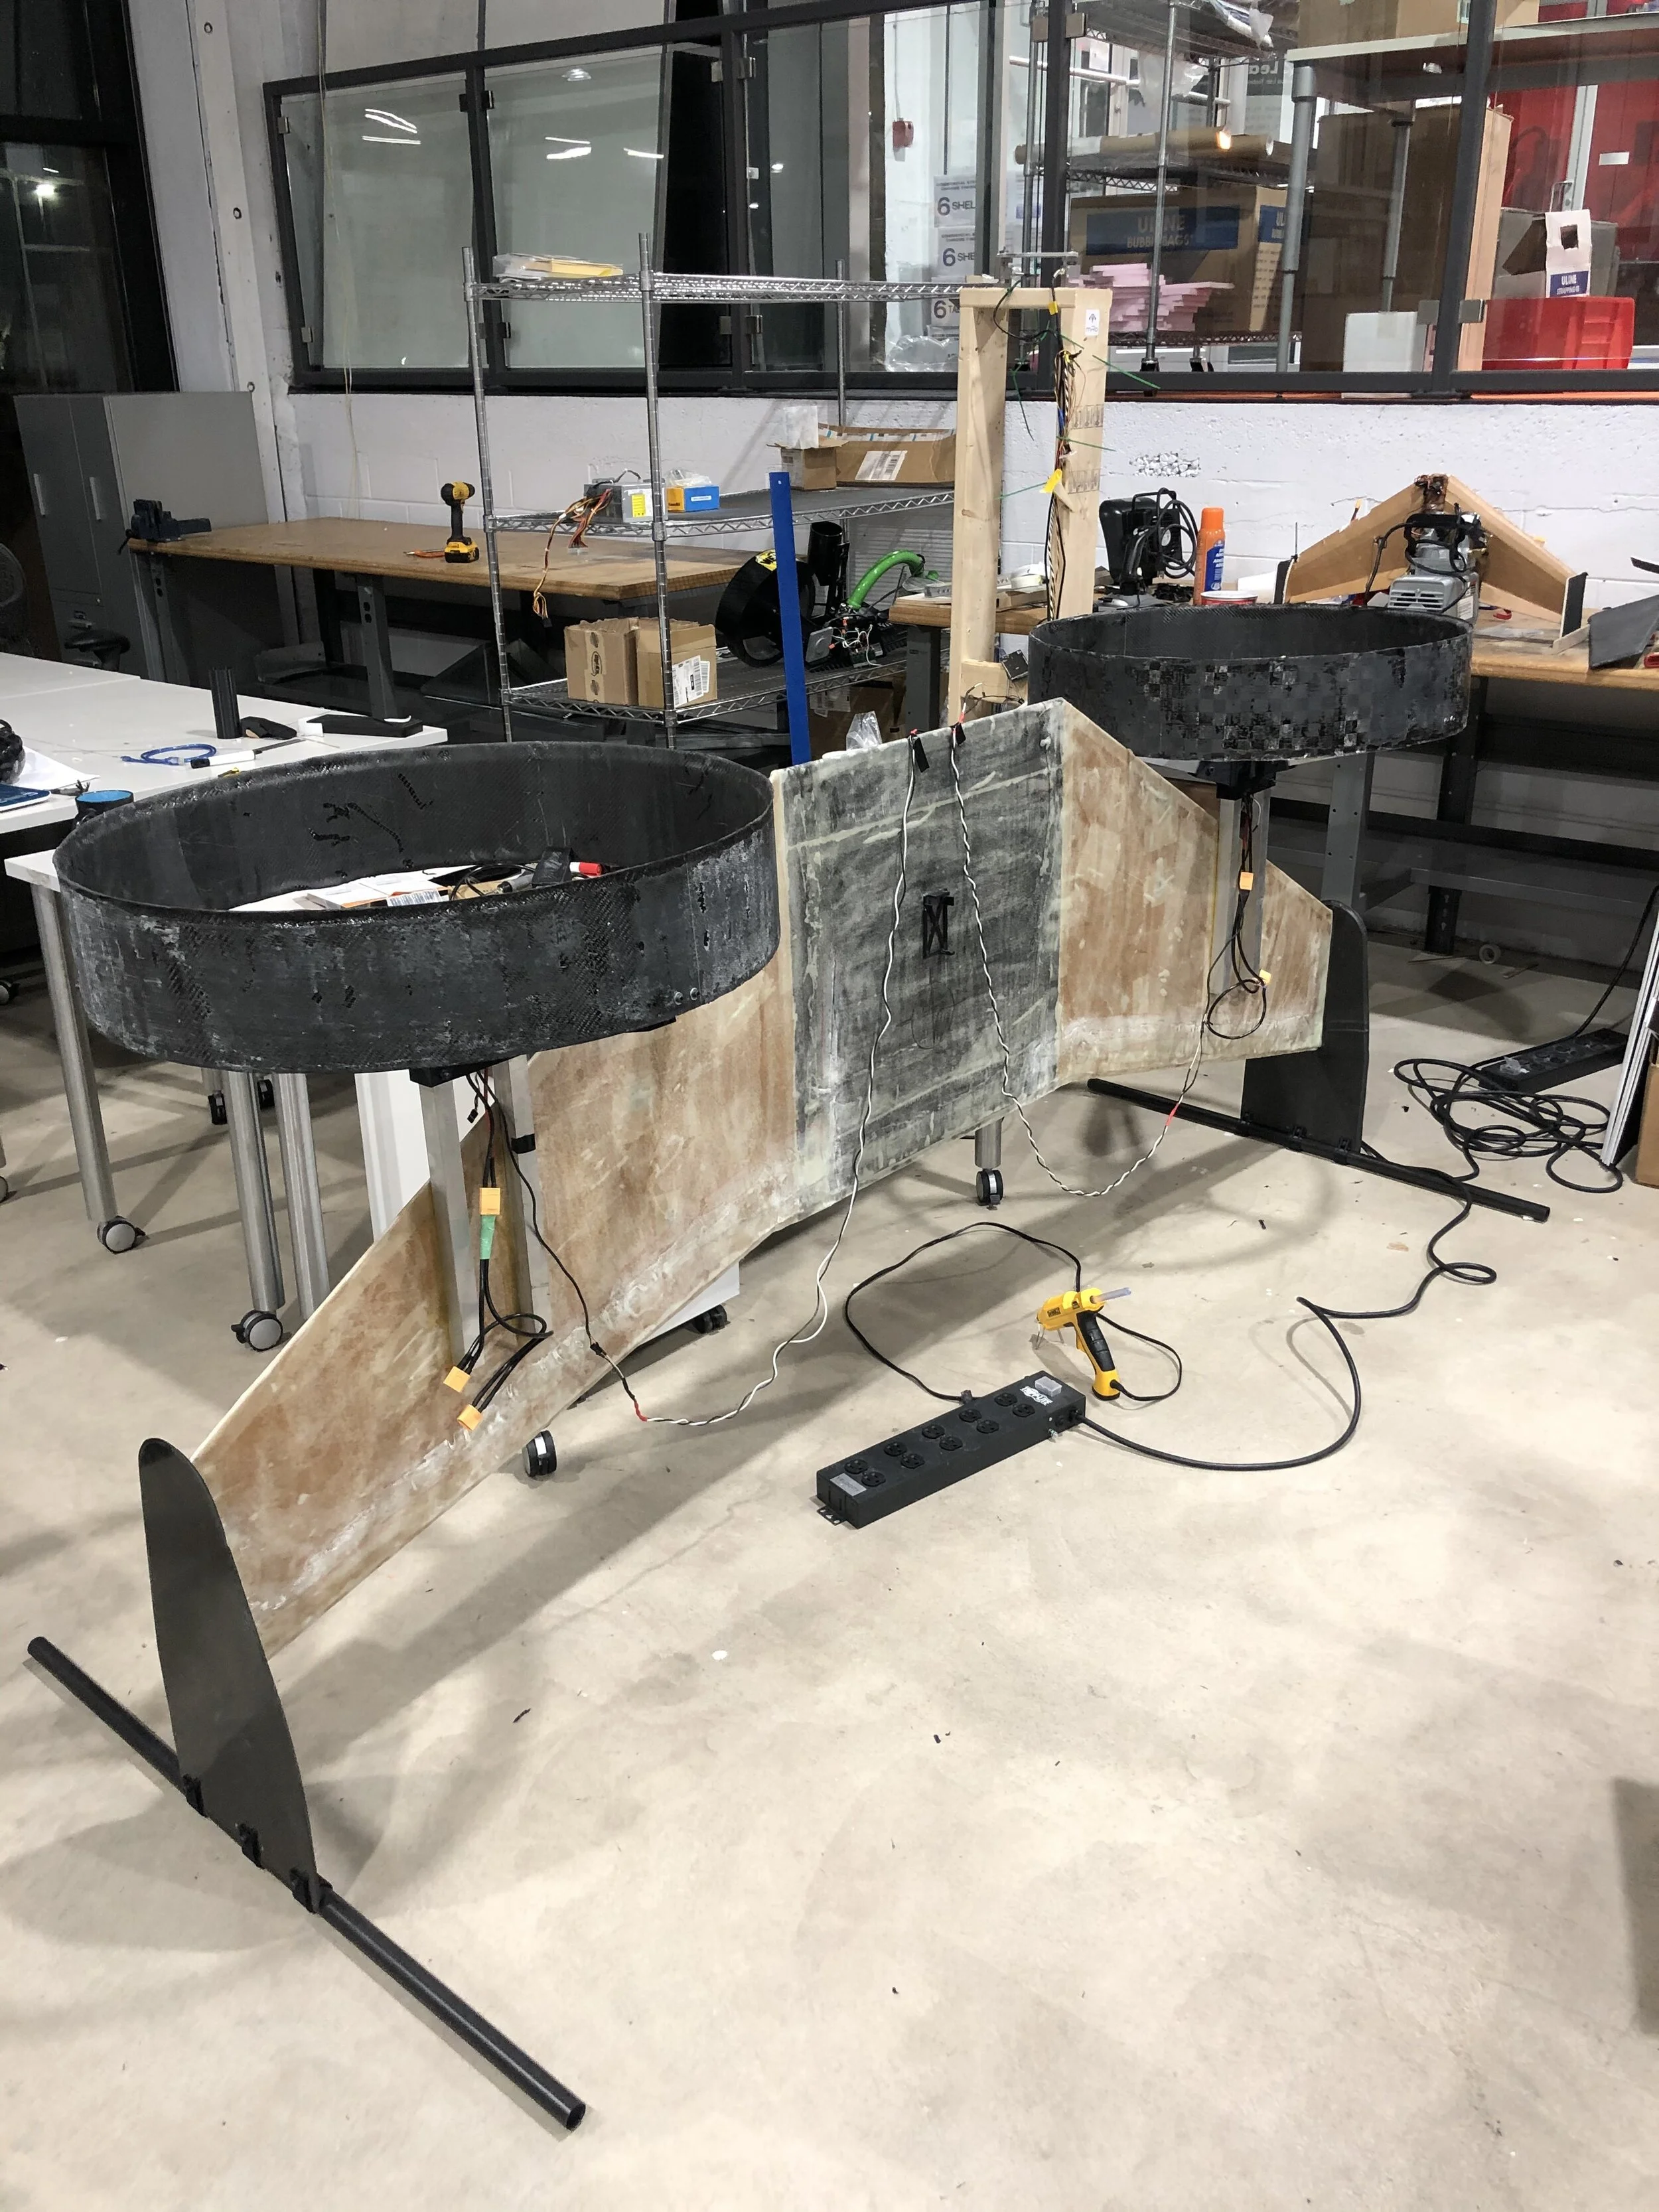
Wing core plus motors and propellers.
Spar layup under compression.
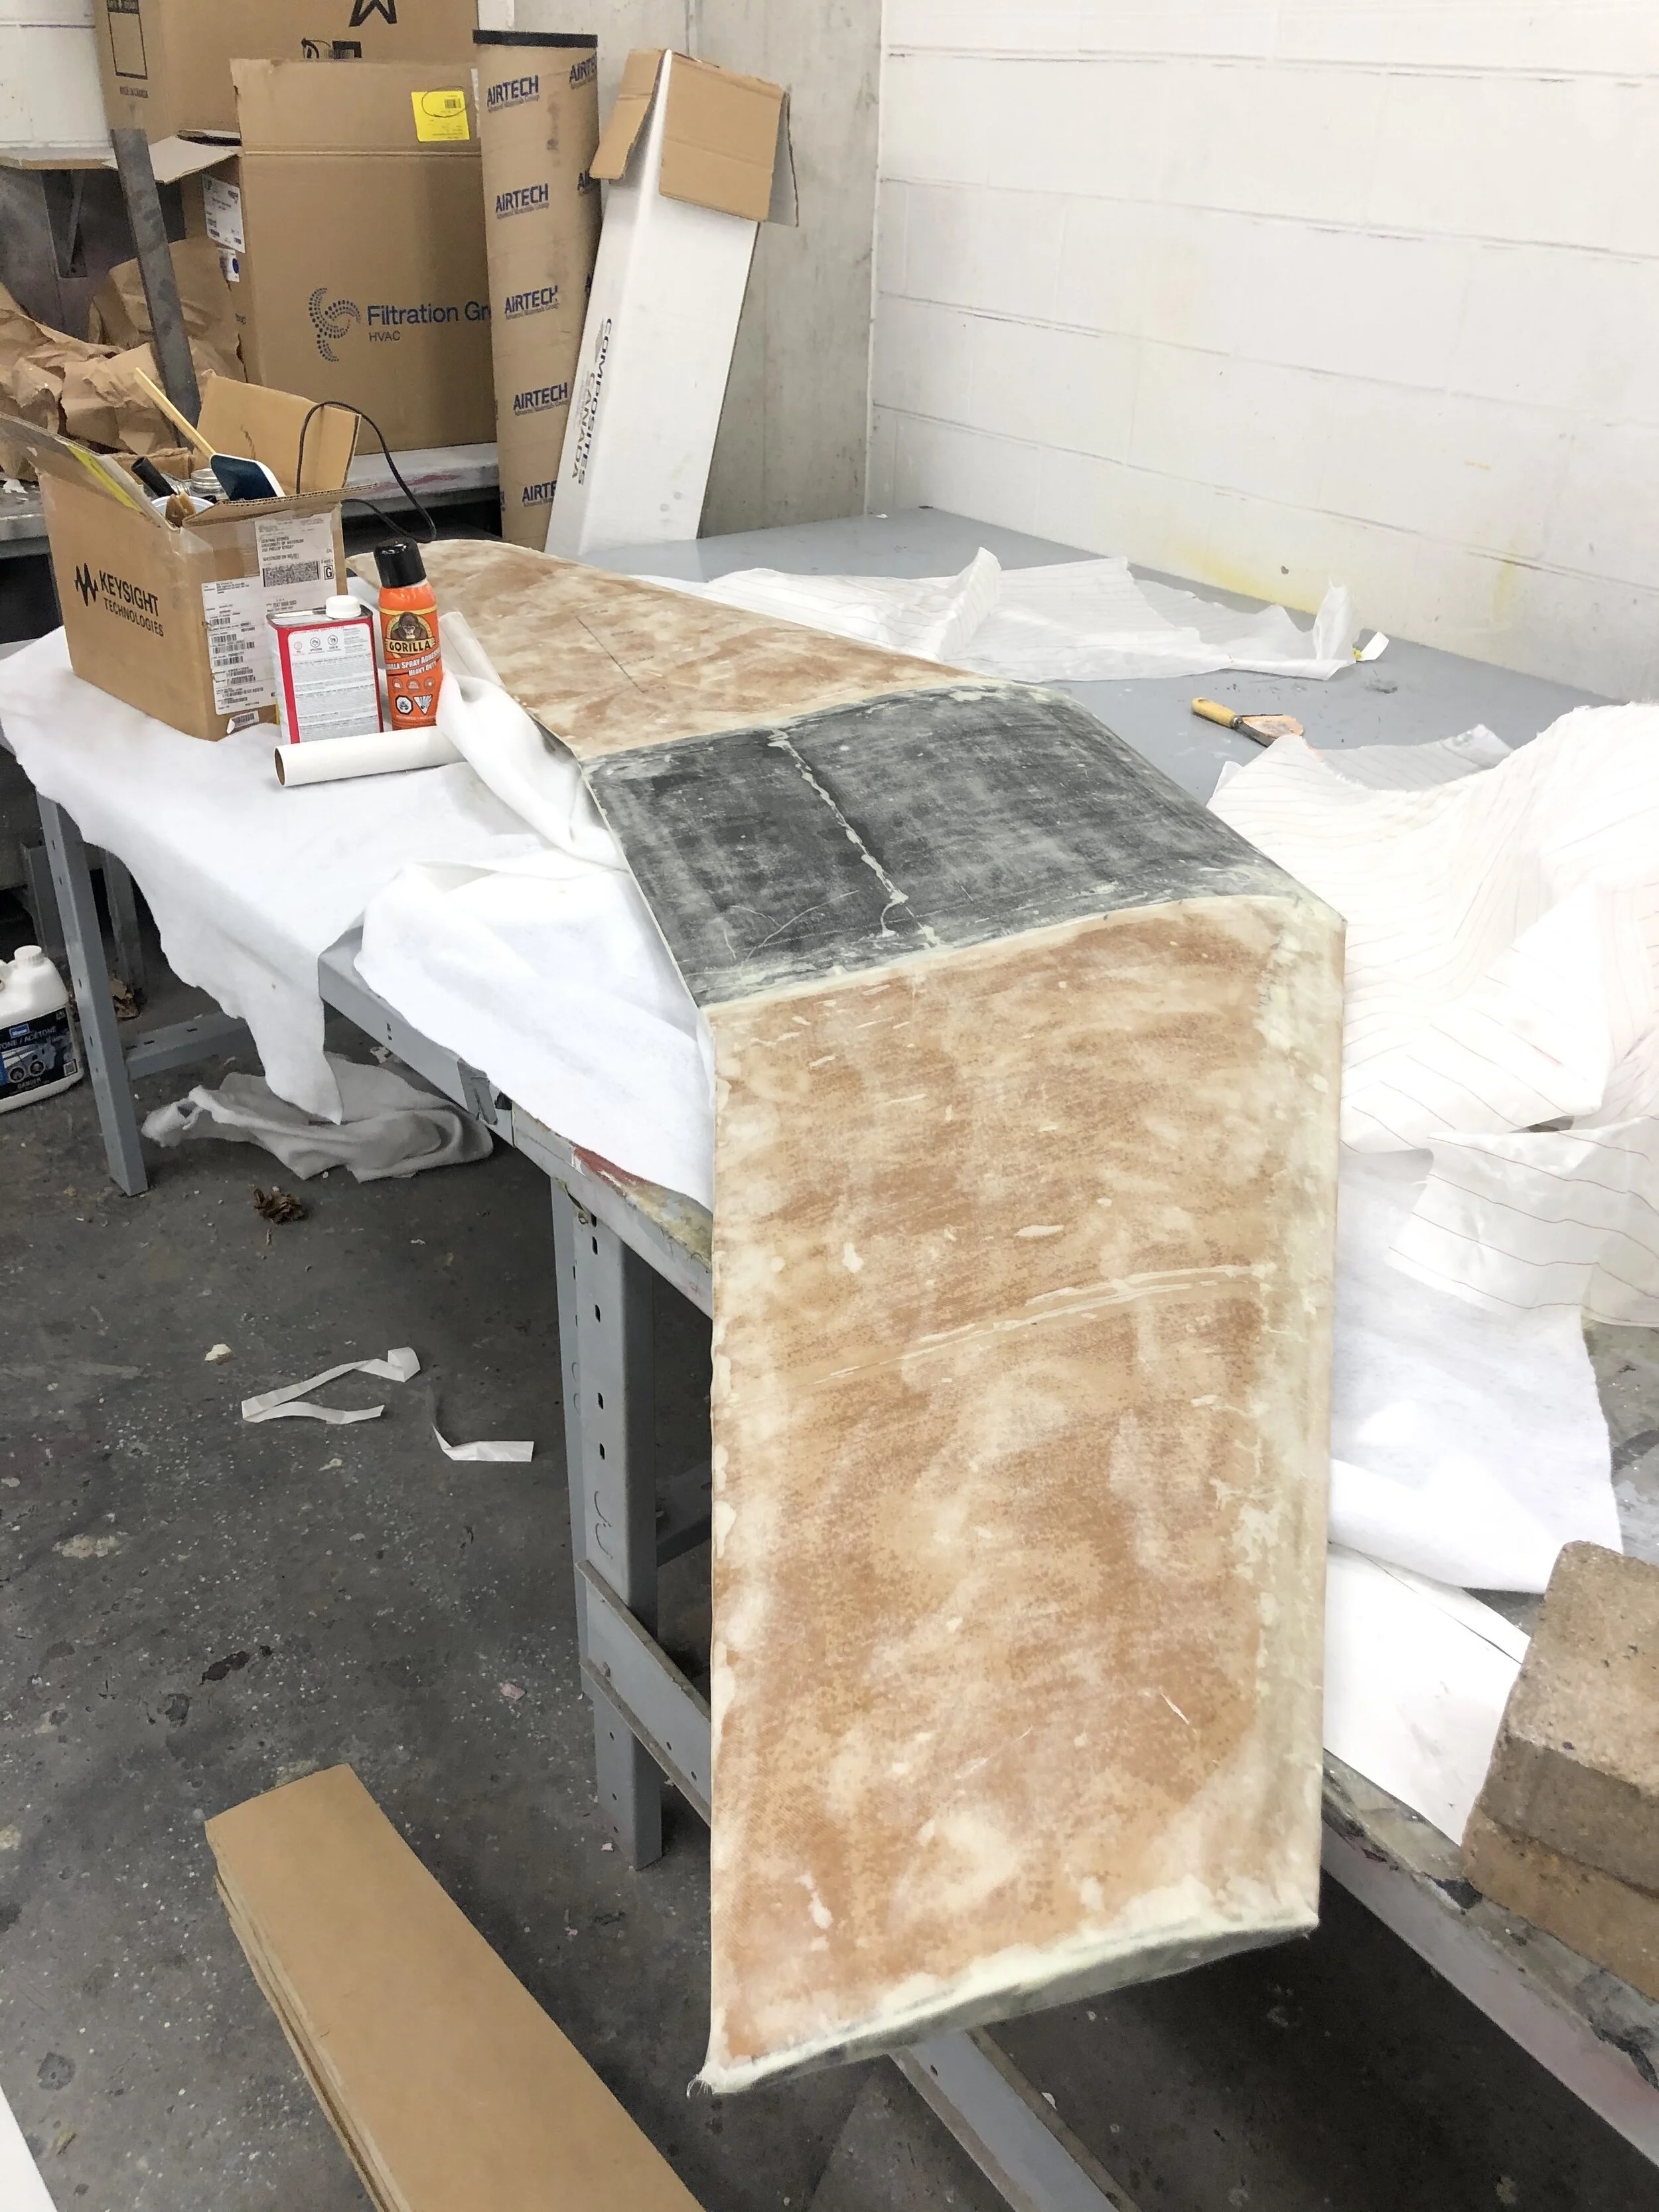
Fibreglass wrapped wing after curing.
We also made propeller shrouds which were not meant for aerodynamic benefits but rather safety. These were simple circular structures with a 72cm diameter which we fabricated by 3D printing a 4-part circular mould, and laying up carbon fibre on it with a foam board core. The shrouds would then attach to the 3D printed motor hubs via aluminum extrusions. This was not the only 3D printed mould we used, the carbon fibre battery covers were also made in 3D printed moulds which we were even able to use multiple times, it is a good alternative for prototype tooling.
The landing gear and winglets were both bonded to the fibreglass wing via an epoxy-based adhesive, while the control surfaces were attached via 3D-printed hinges, which also included the servo coupling for the control surface actuation.
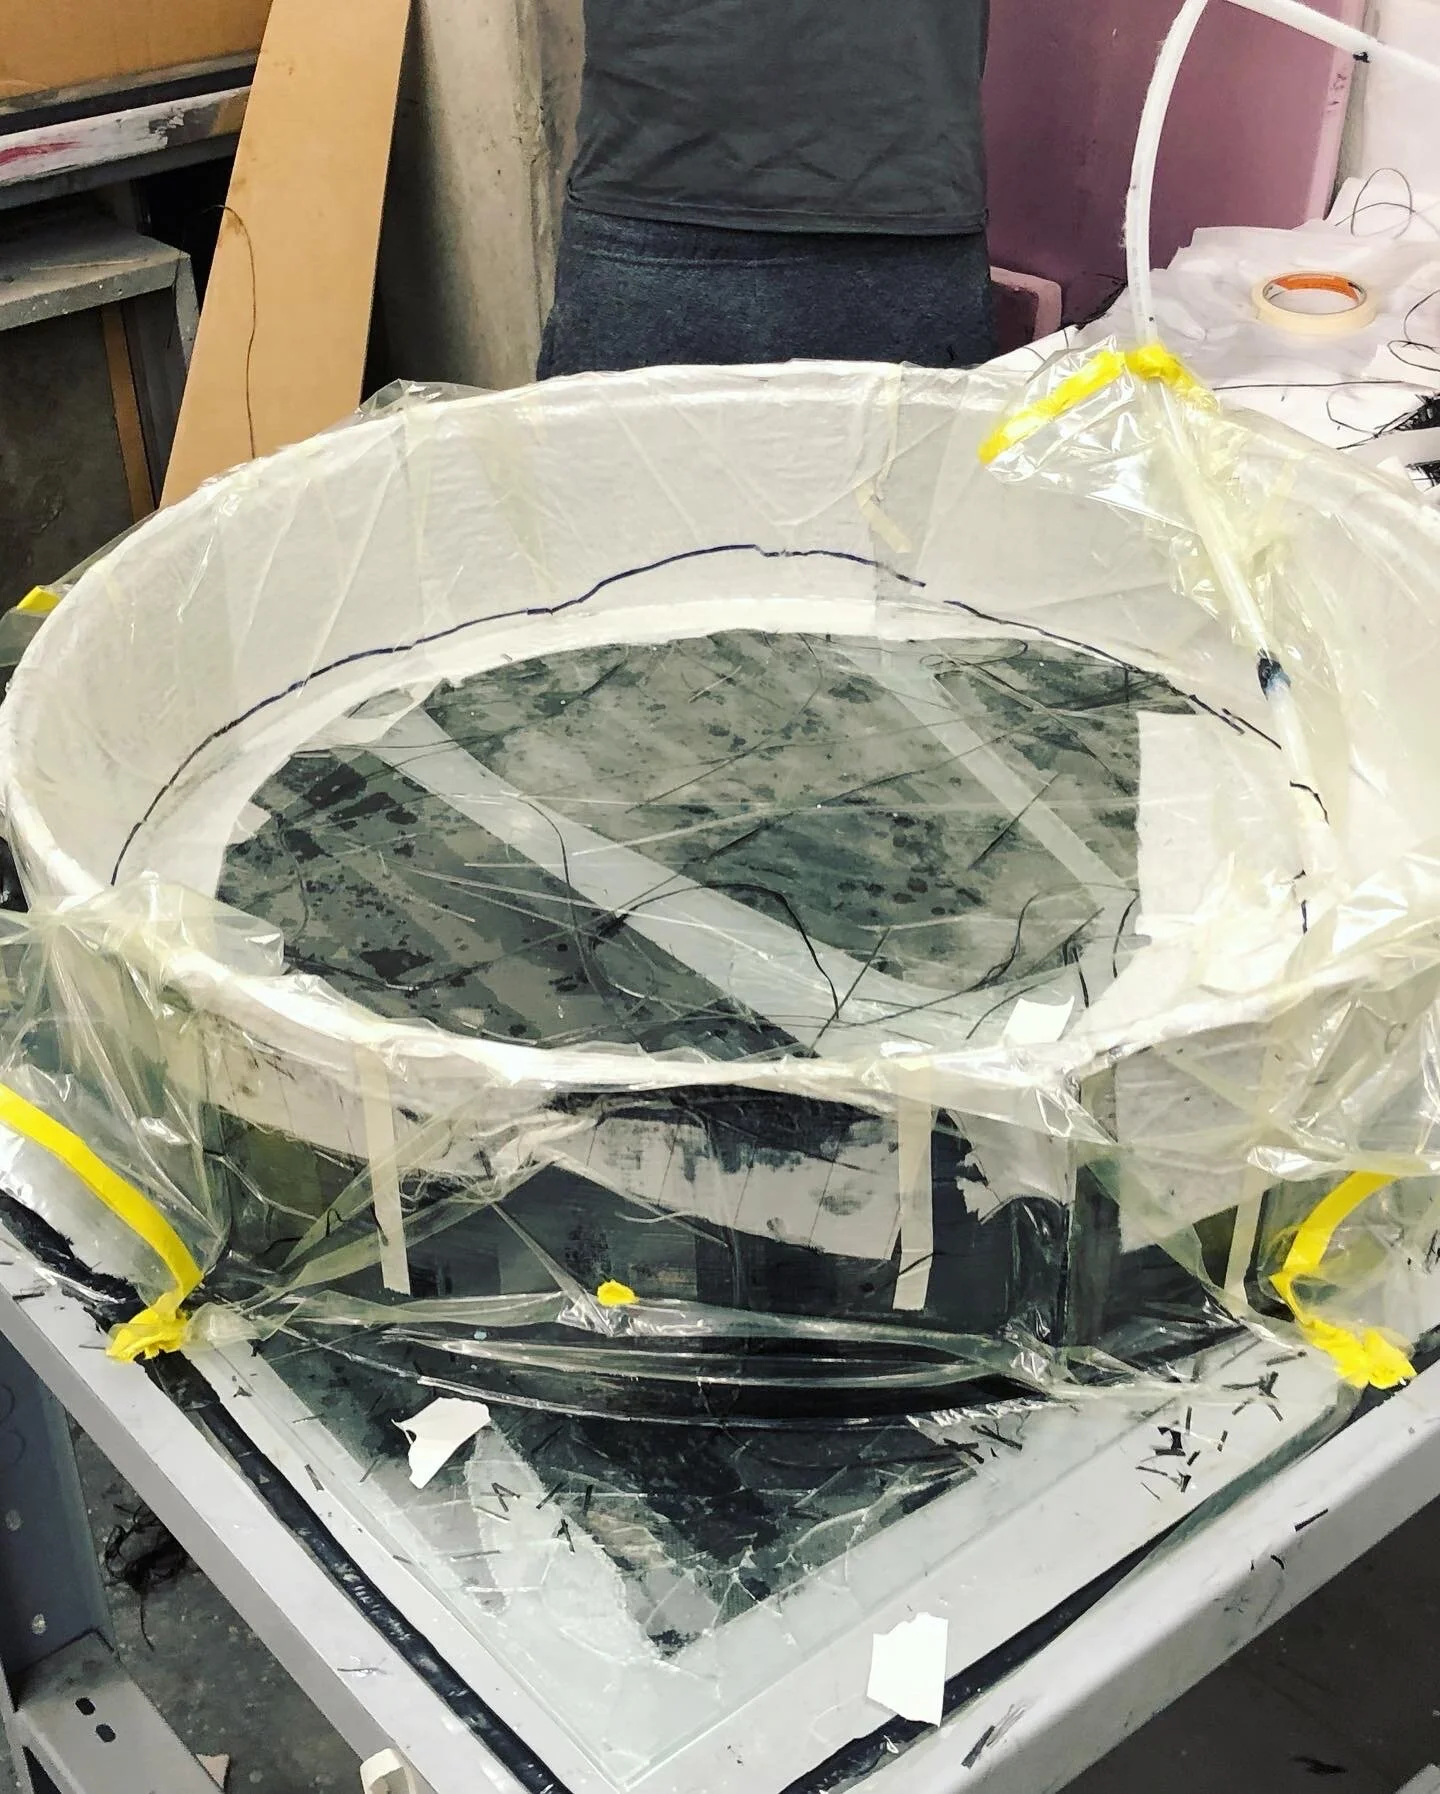
Shroud layup in progress.
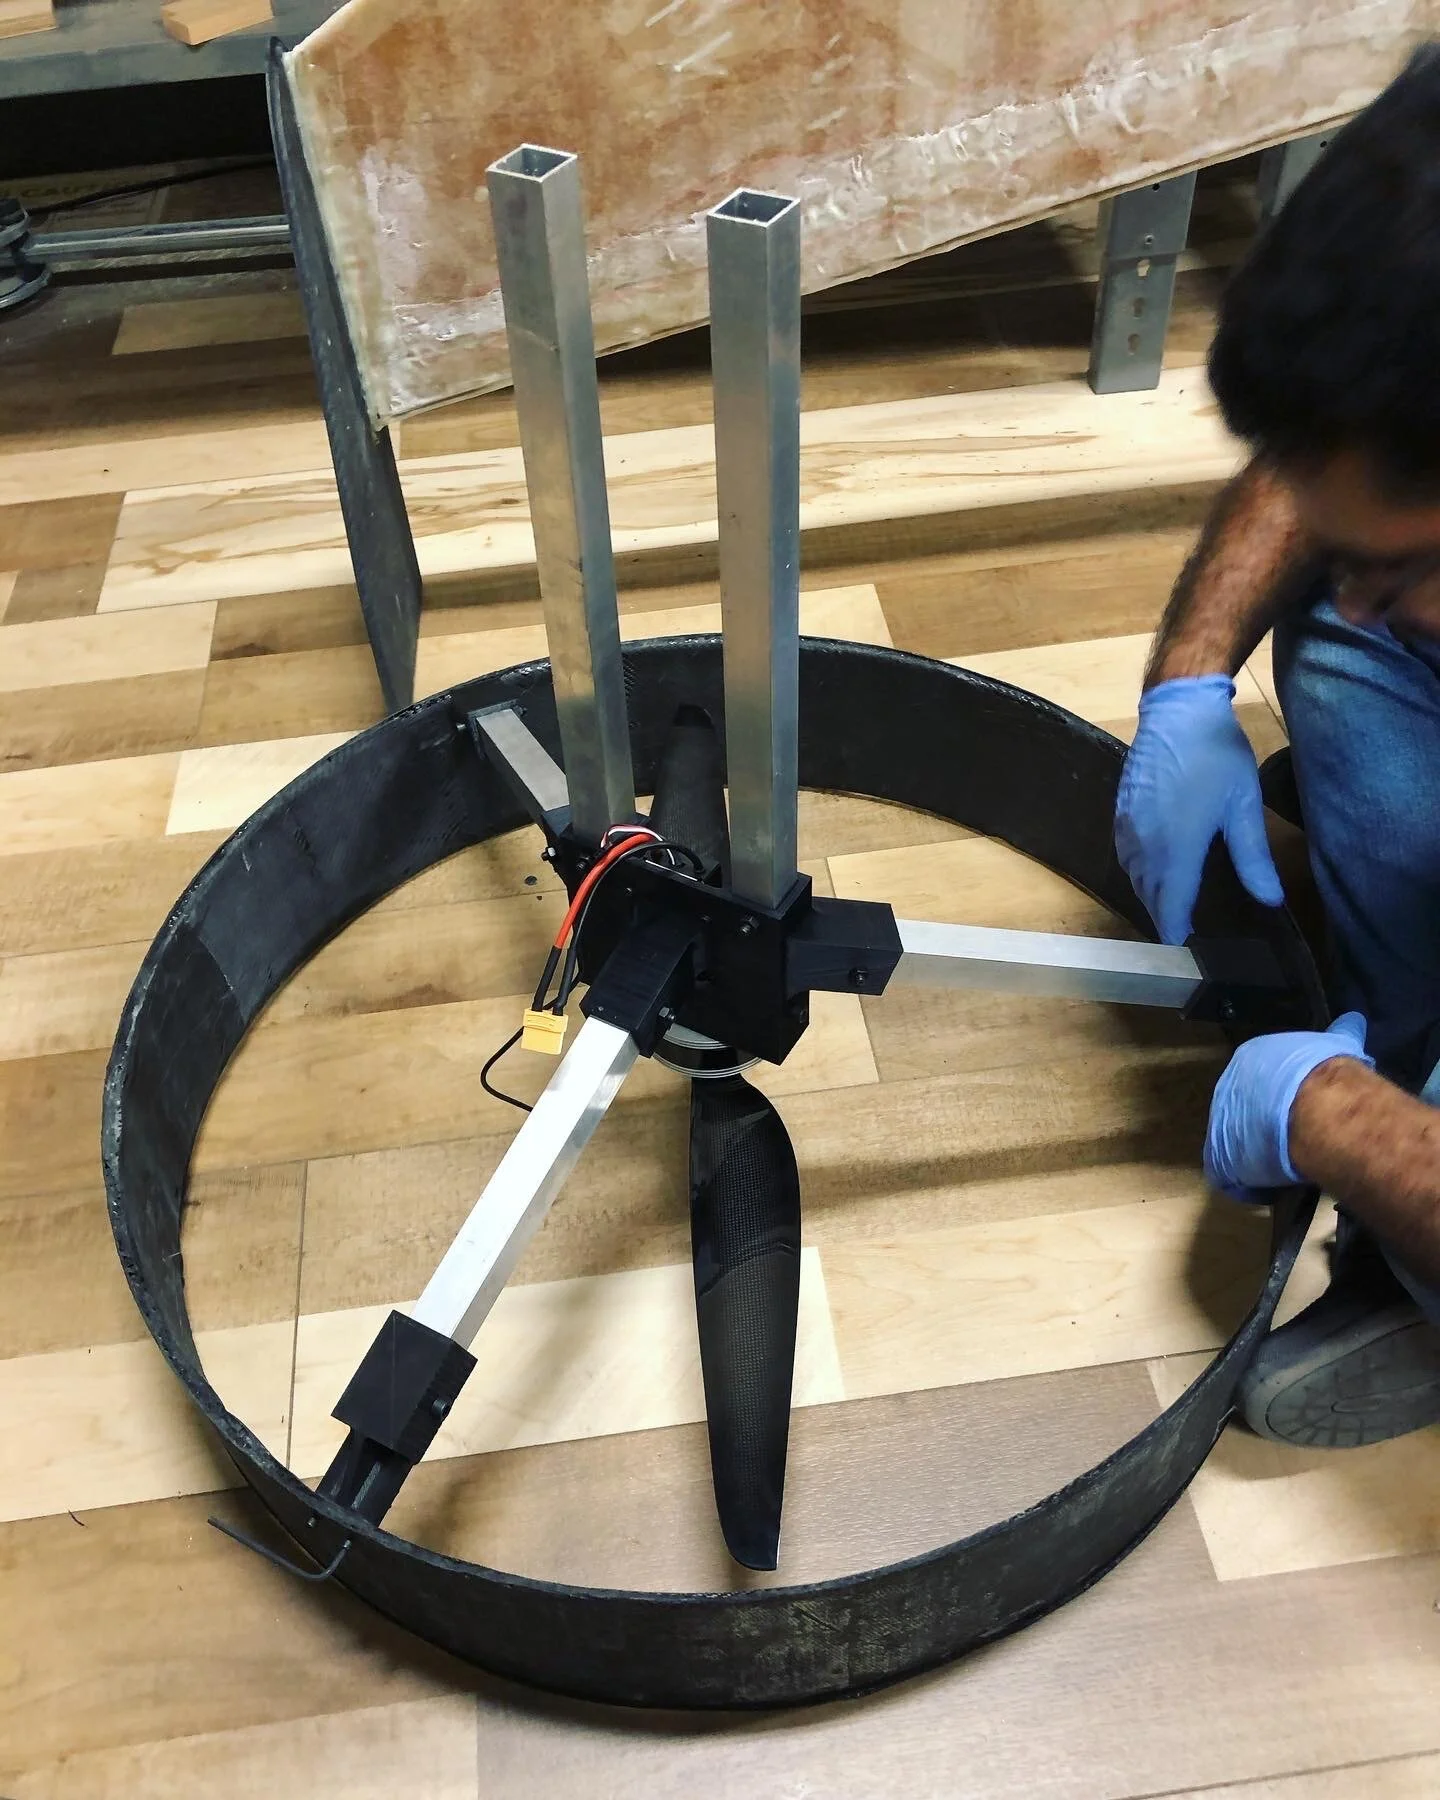
Propulsion assembly.
Winglets bonding process.
Below is a shakedown test from the first time we ran the propulsion system in November 1st, 2019. This was primarily to ensure the propeller-shroud clearances would hold at speed and the structural integrity of all components (particularly the 3D printed ones) under the vibrations of the spinning motor and the heat produced.
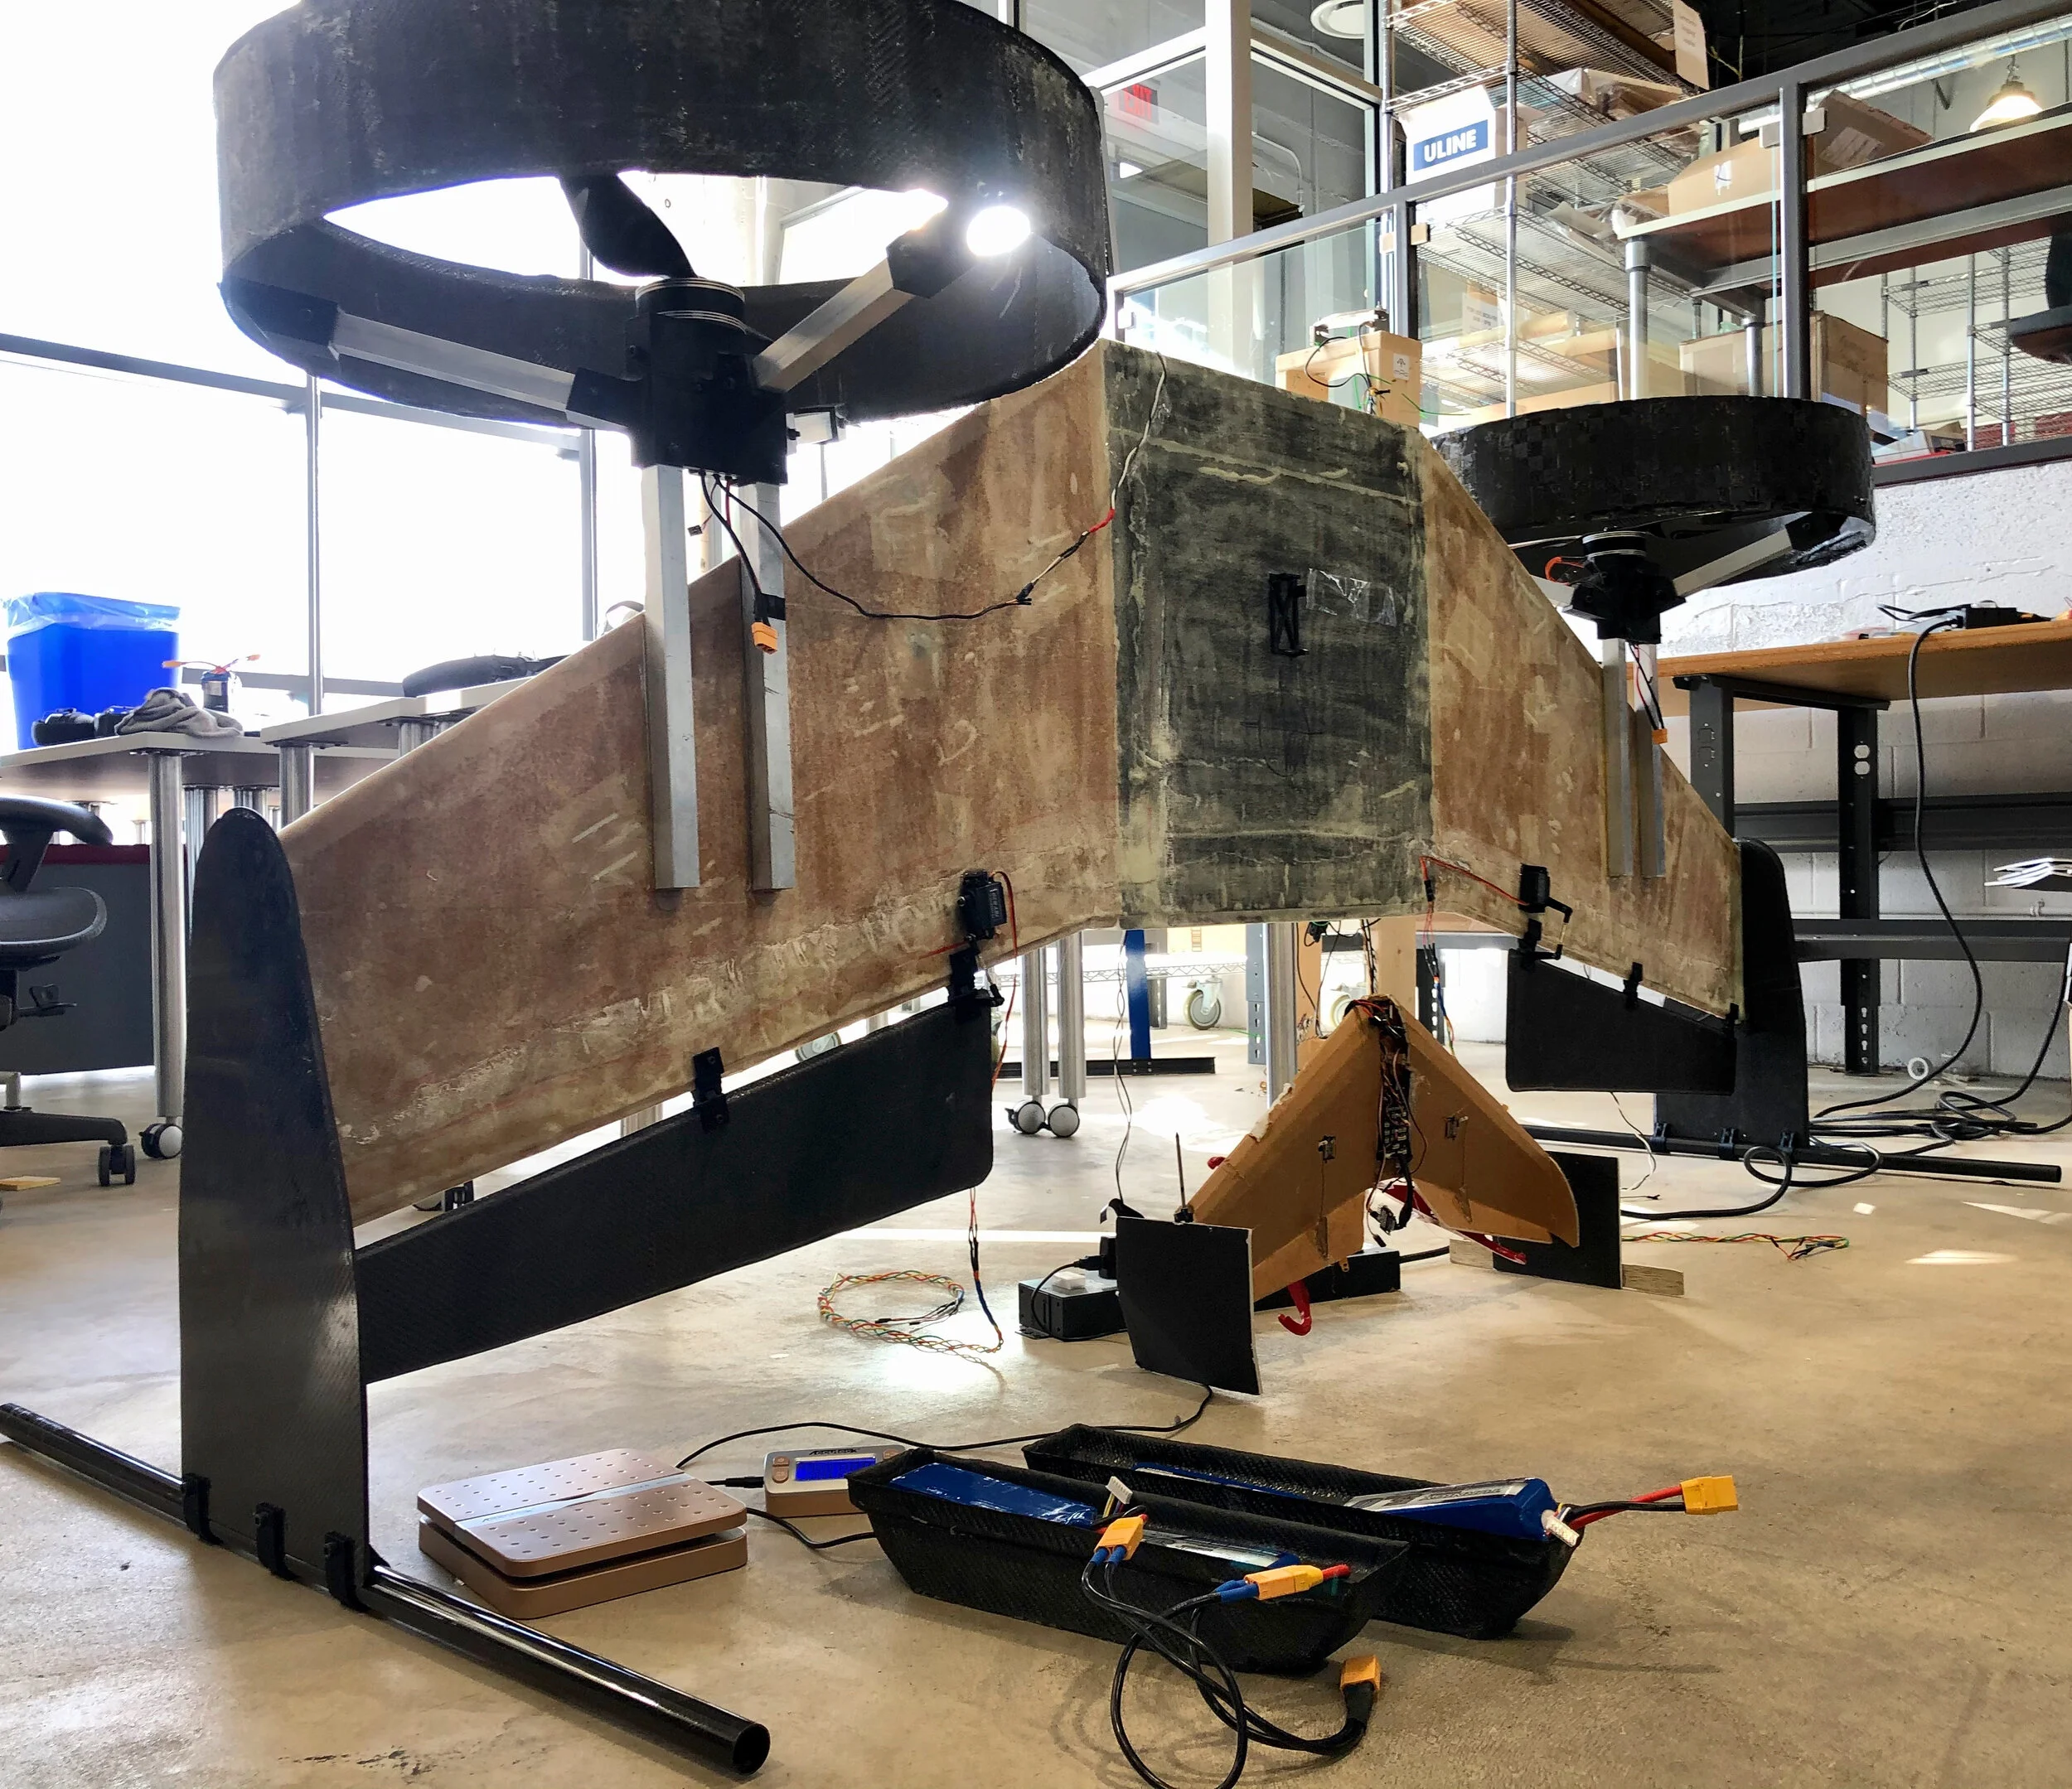
After validating the propulsion assembly as well as benching the motors independently to validate the supplier’s thrust figures (you can see our propulsion load cells setup on the background in the bottom pictures), we assembled the drone. As you can see from the pictures below, there was a lot of hot glue involved, and more wires than you would expect. Ultimately this was still a drone -not large enough to carry a person- but seeing it next to our previous drones made it feel like a significant step. The aircraft came together with a total mass of just over 18kg.
Fully assembled 1/2 scale drone.
Big drone vs. small drone.
We took the drone for its first hover in November 14th, 2019, making this a relatively quick 3 week design and fabrication sprint. It was winter and we were able to secure an empty warehouse with high enough ceilings. We ran a tether line and went flying with the same PID gains we used on our small drones for starters, it was a little rocky as you can see on the video below.
After the first hover came second, third, and dozens more. The controller and our pilot got good enough to start flying outside in the middle of the winter, and attempting horizontal cruise flights. Around this time we also rolled out the next iteration of our drone: wrapped in white and black (so you can see it maneuver at a distance) and 6kg lighter. We got rid of most of the metal extrusions, shrouds (the shrouds were not strong enough to stop the propellers on a crash, so we just scrapped them), tuned the centre of gravity by repositioning the battery pack, and grew the control surfaces which gave us more control authority.
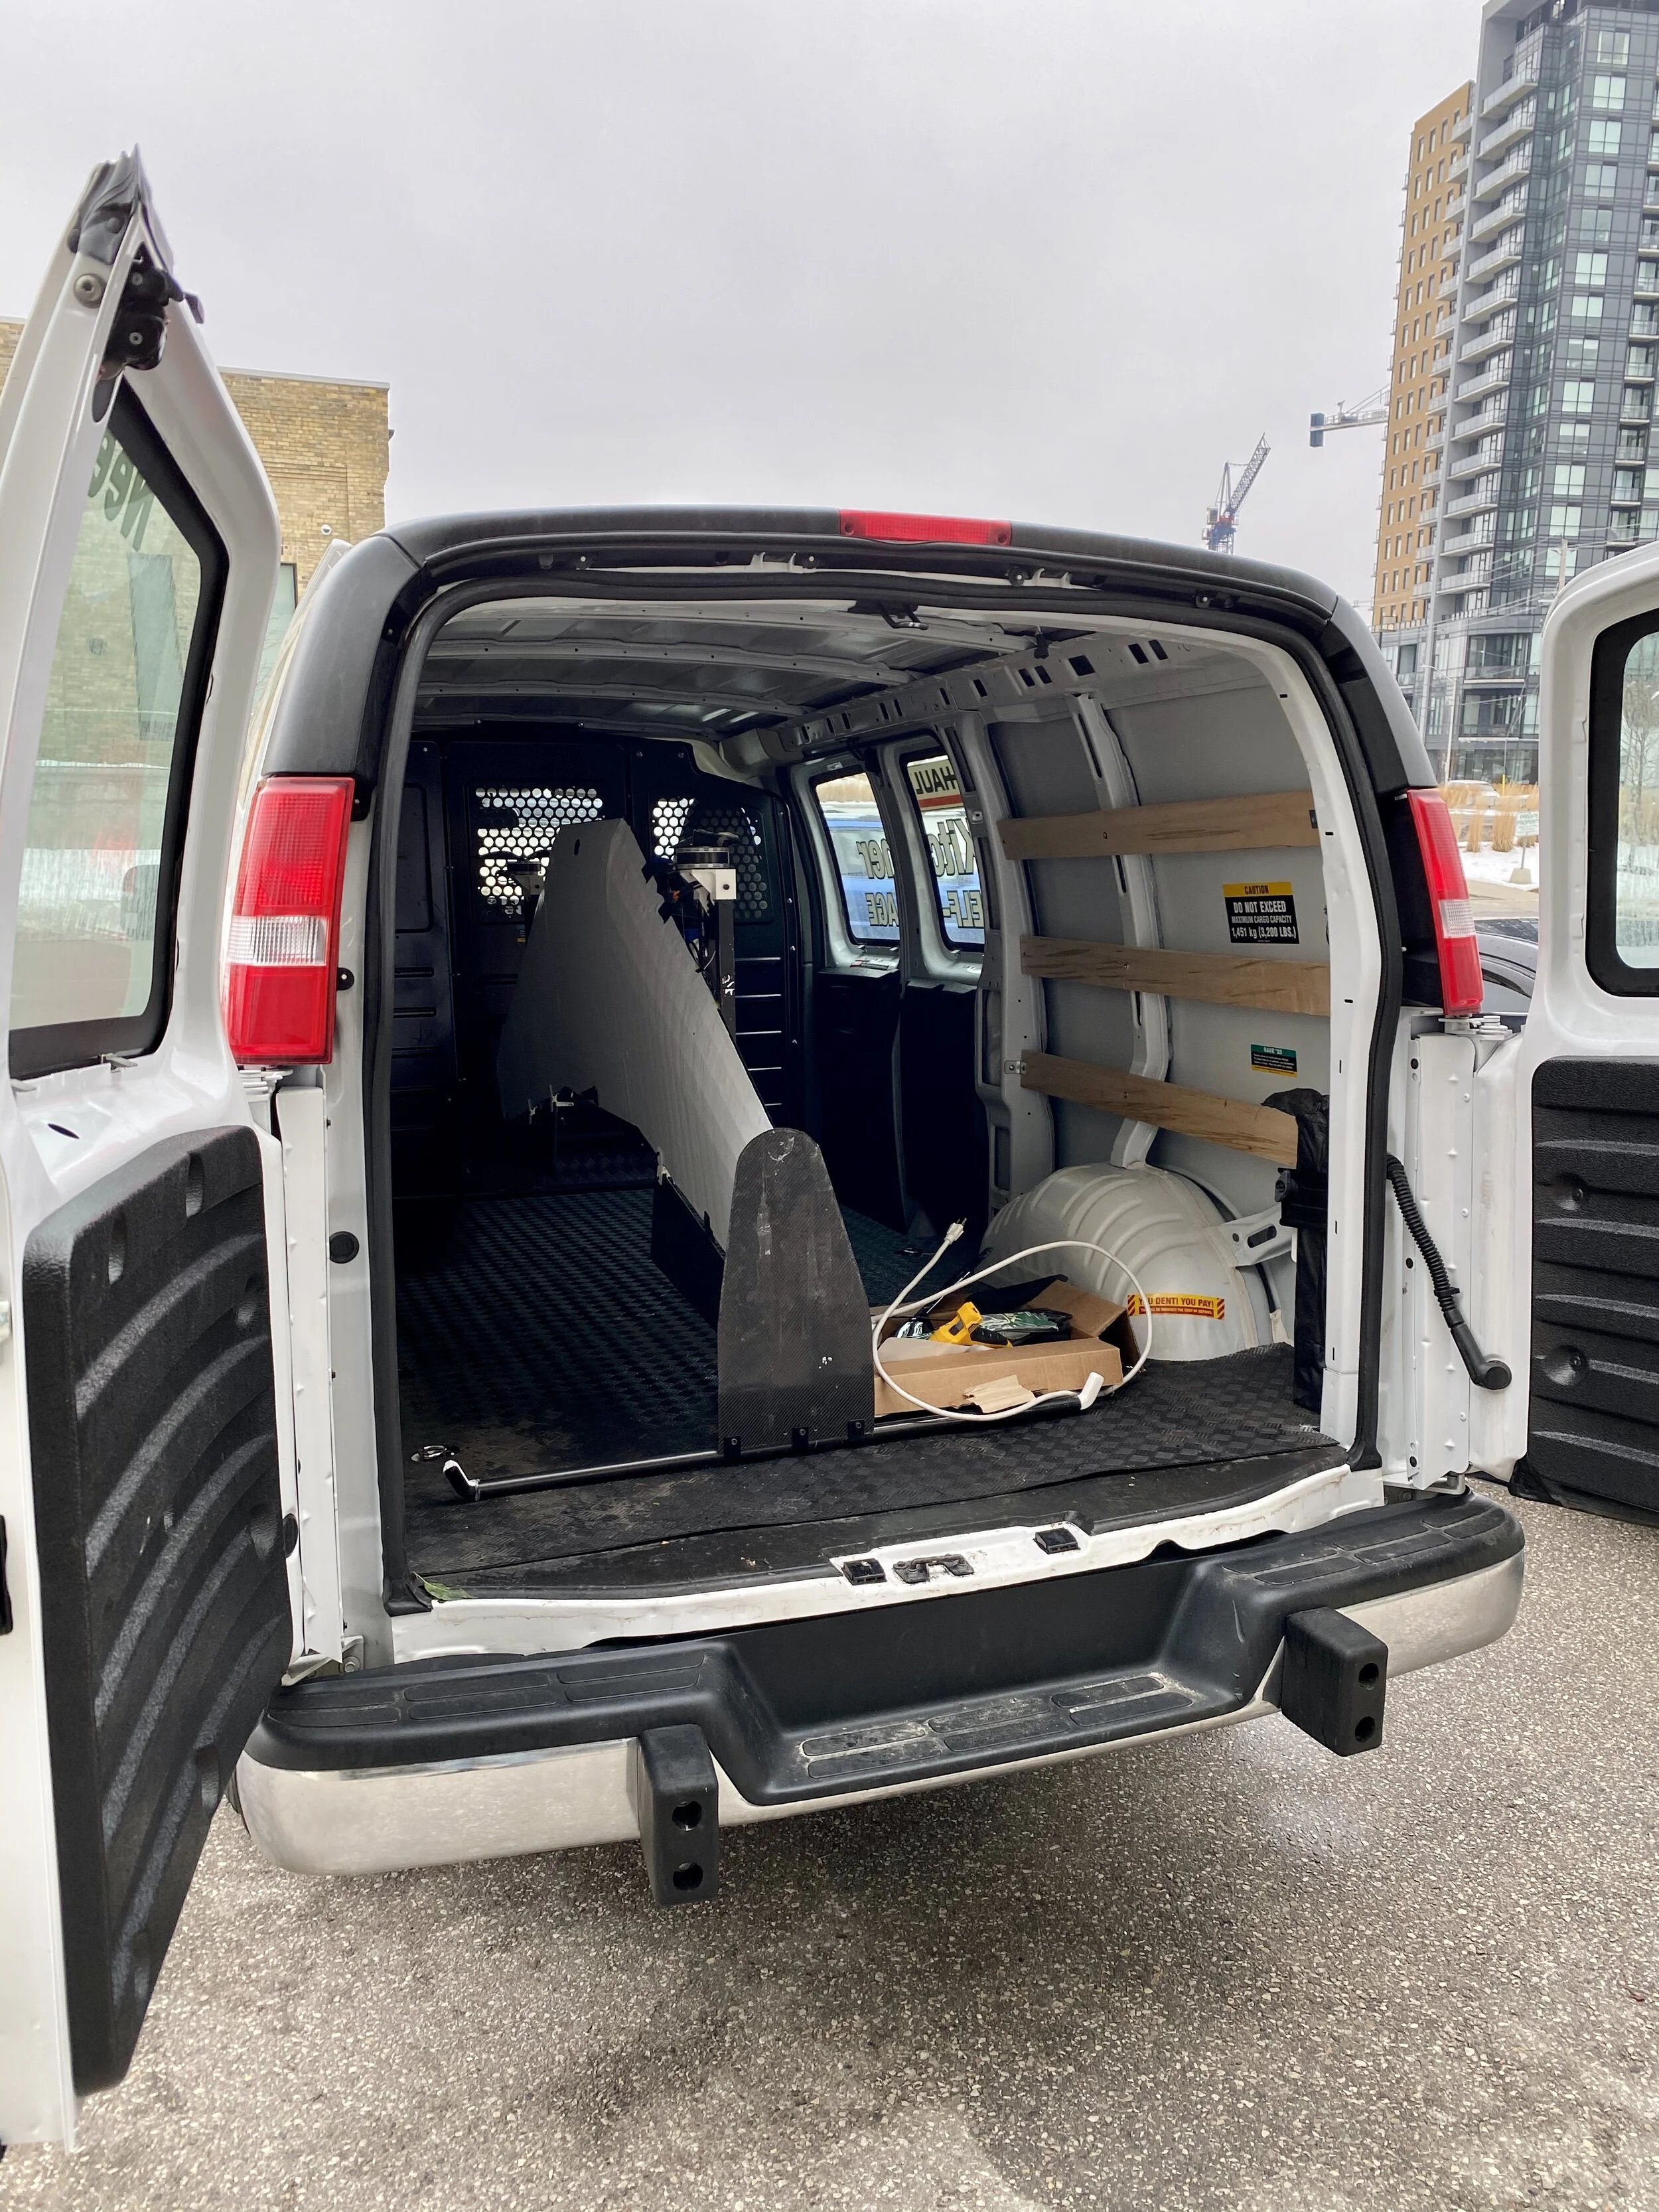
Packing the drone to go flying.

Winter flight.


By now we were confident in our technology and ability to continue scaling up our vehicle so we started a fundraising process. Below is a video we used in an early investors pitch. Talking to investors was primarily about educating them on the technology and future prospects, the status quo is to think anything that flies is very expensive, regulated, and requires an army of engineers. There are now numerous companies around the world tackling this idea in a similar fashion Tesla did with the automobile industry, but we were the first to do so in Canada so we fought an uphill battle and faced doubts at every corner. Looking back, bringing investors to the office and having them see all of our drones in person always made the best impression, videos are cool but anyone can make a cool video these days.
Around this time we could see the COVID-19 pandemic glooming in the horizon. Before we knew it the world went into shutdown and most of our investment prospects vanished overnight. Our scrappiness started paying us back, the money we saved by making quick foam wings in-house (versus say, machining proper tools and making a carbon fibre wing) meant our runway was longer. We started seeing competitors calling it quits while we continue to look for ways to keep moving forward.
Once again we released a new iteration of our 8 feet wingspan drone, characterized by its red wrapping colour, an even lighter airframe, bigger and quieter propellers, and improved repairability. Because the world was in lockdown, suddenly we had more room to fly: deserted parking lots and parks became our test grounds.
Red wrap.

Flying in a parking lot.

Flying at the park.
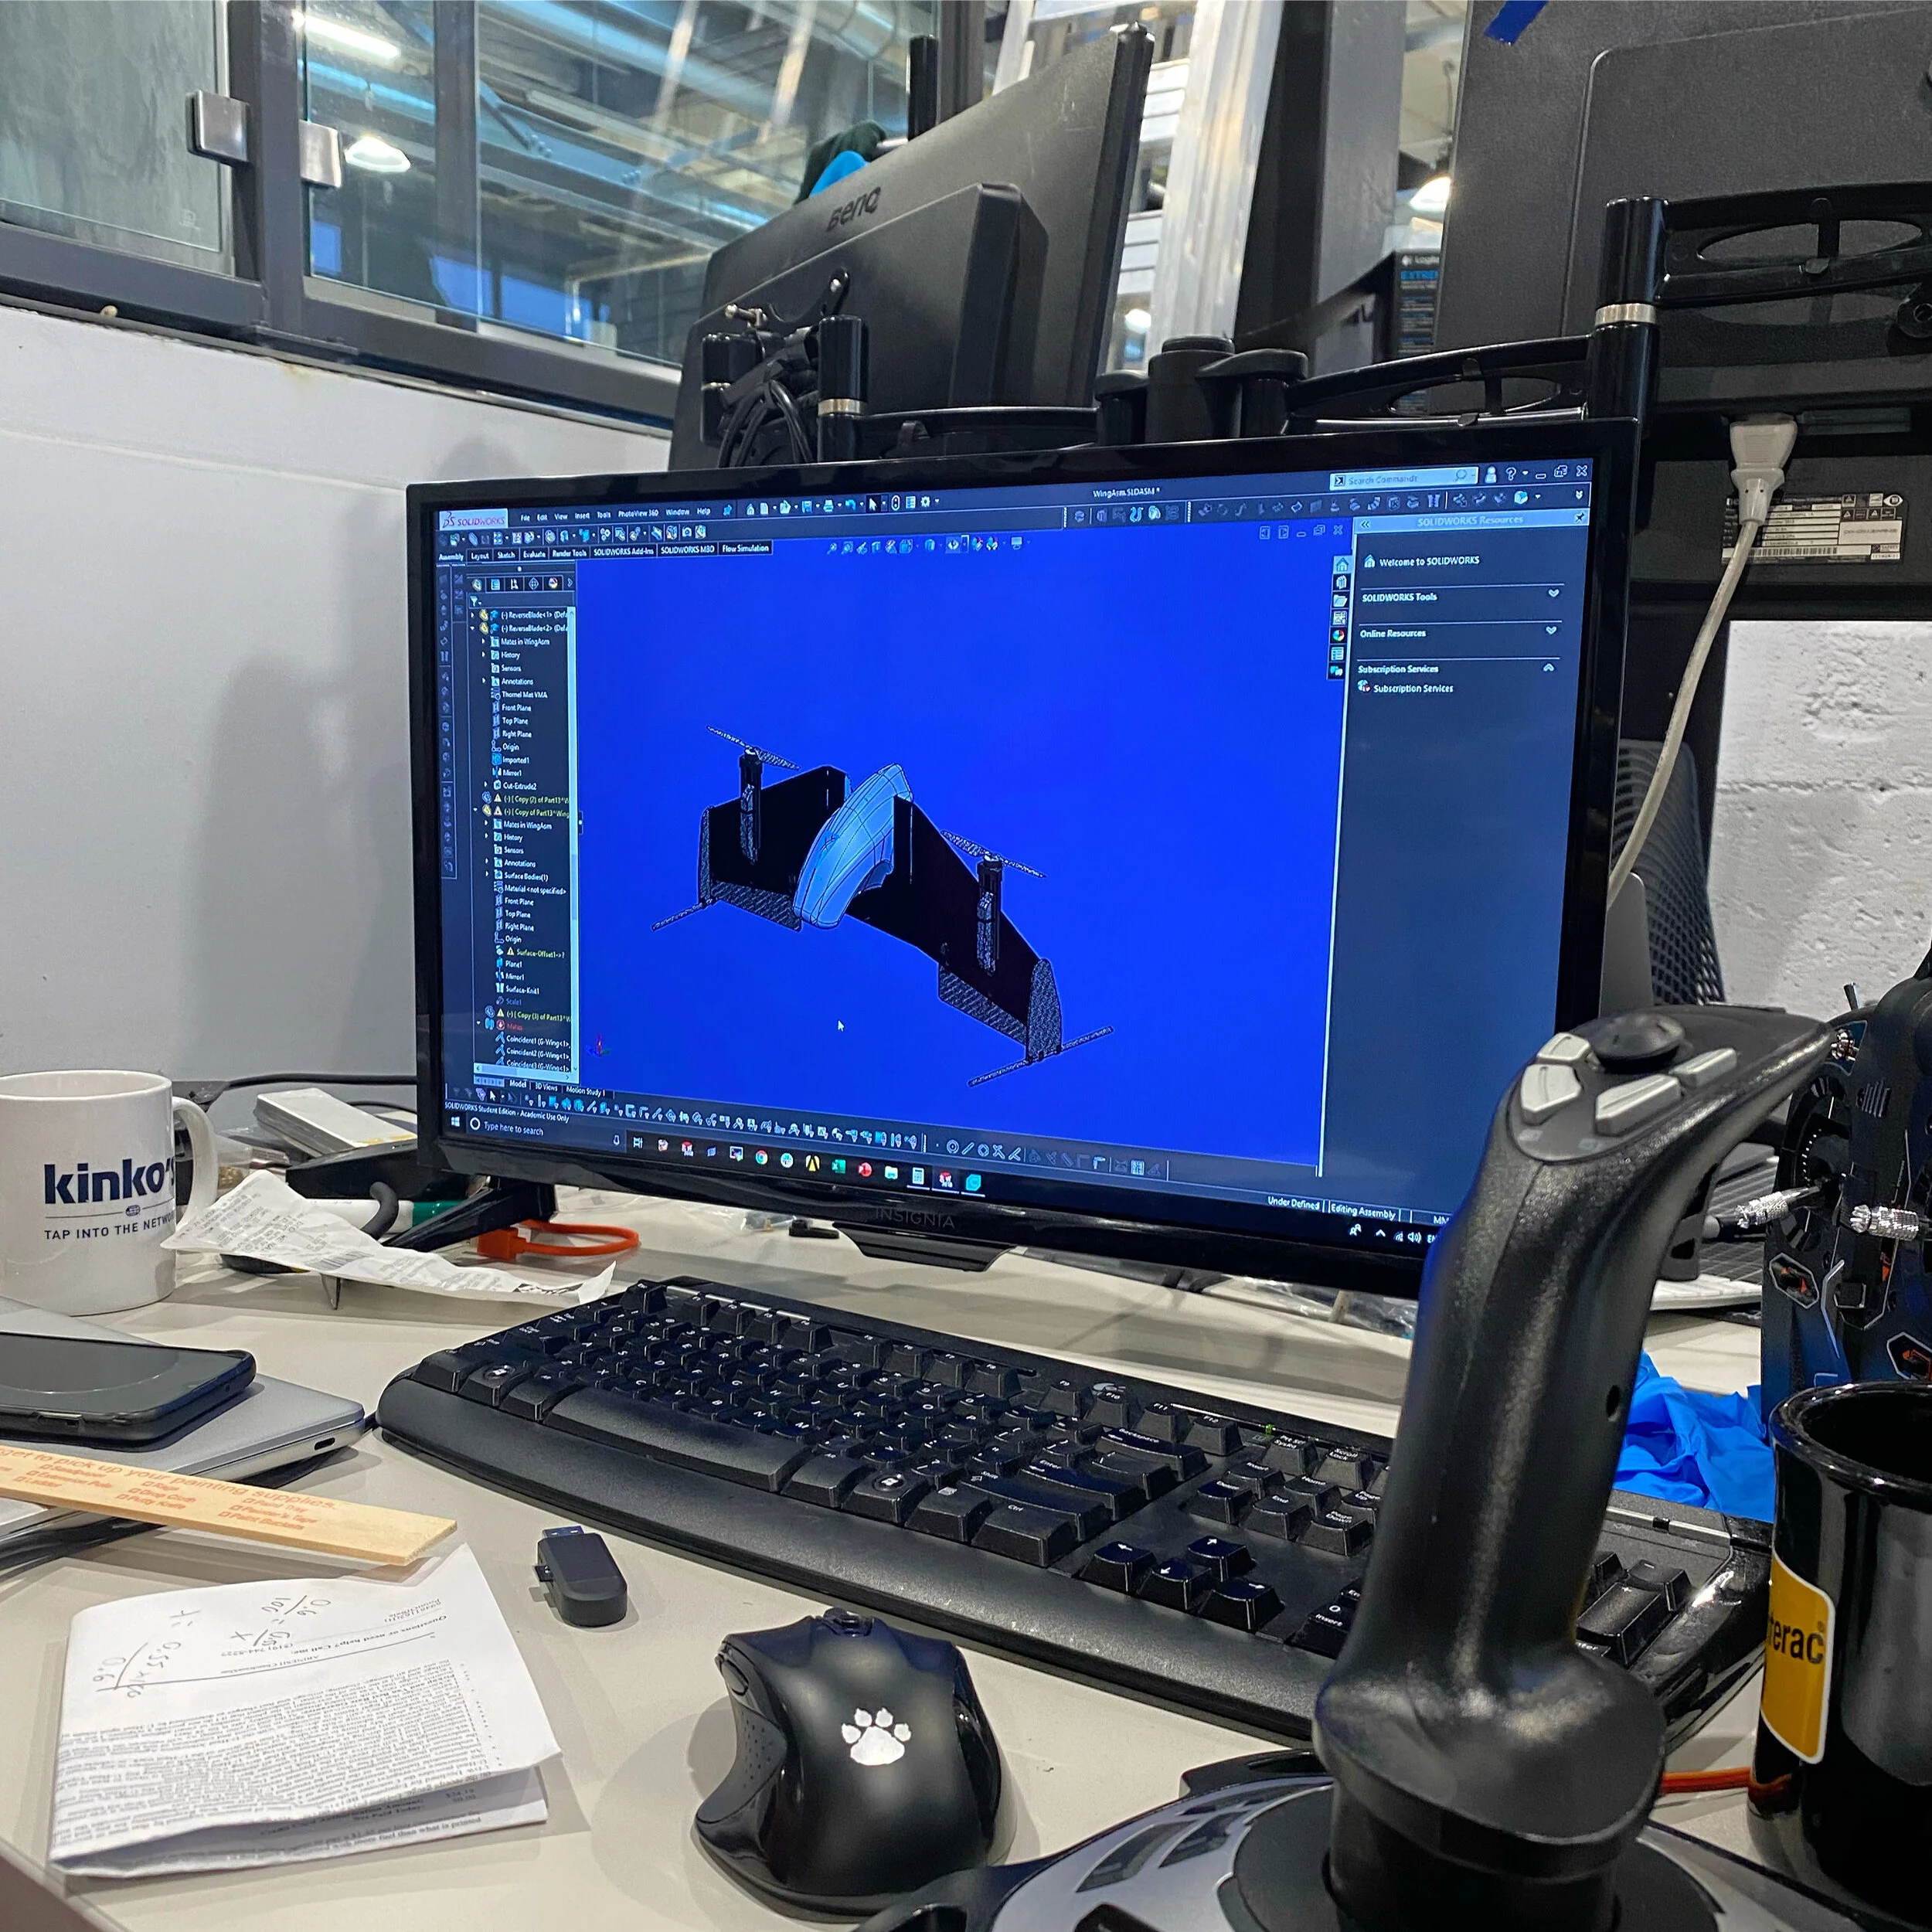
To keep momentum rolling while we assessed the COVID-19 situation, we started to work on a passenger cockpit mockup for the drone. All of our final aircraft renders had a cockpit and we would often get asked why our drone did not match. Our aircraft was characterized as a tail sitter, meaning it lands and take-offs from its tail and then flips 90 degrees into horizontal flight. Most humans don’t enjoy getting flipped nor starring into the ground while flying, so the cockpit was gimballed and the pilot would always be sitting down and facing the horizon (similar to a car). We designed the the gimbal mechanism (mostly 3D printed parts, servos, and two IMUs), a cockpit, and started the fabrication of it in my living room (we lost the office due to the pandemic lockdown).
Passenger cell 3D CAD.
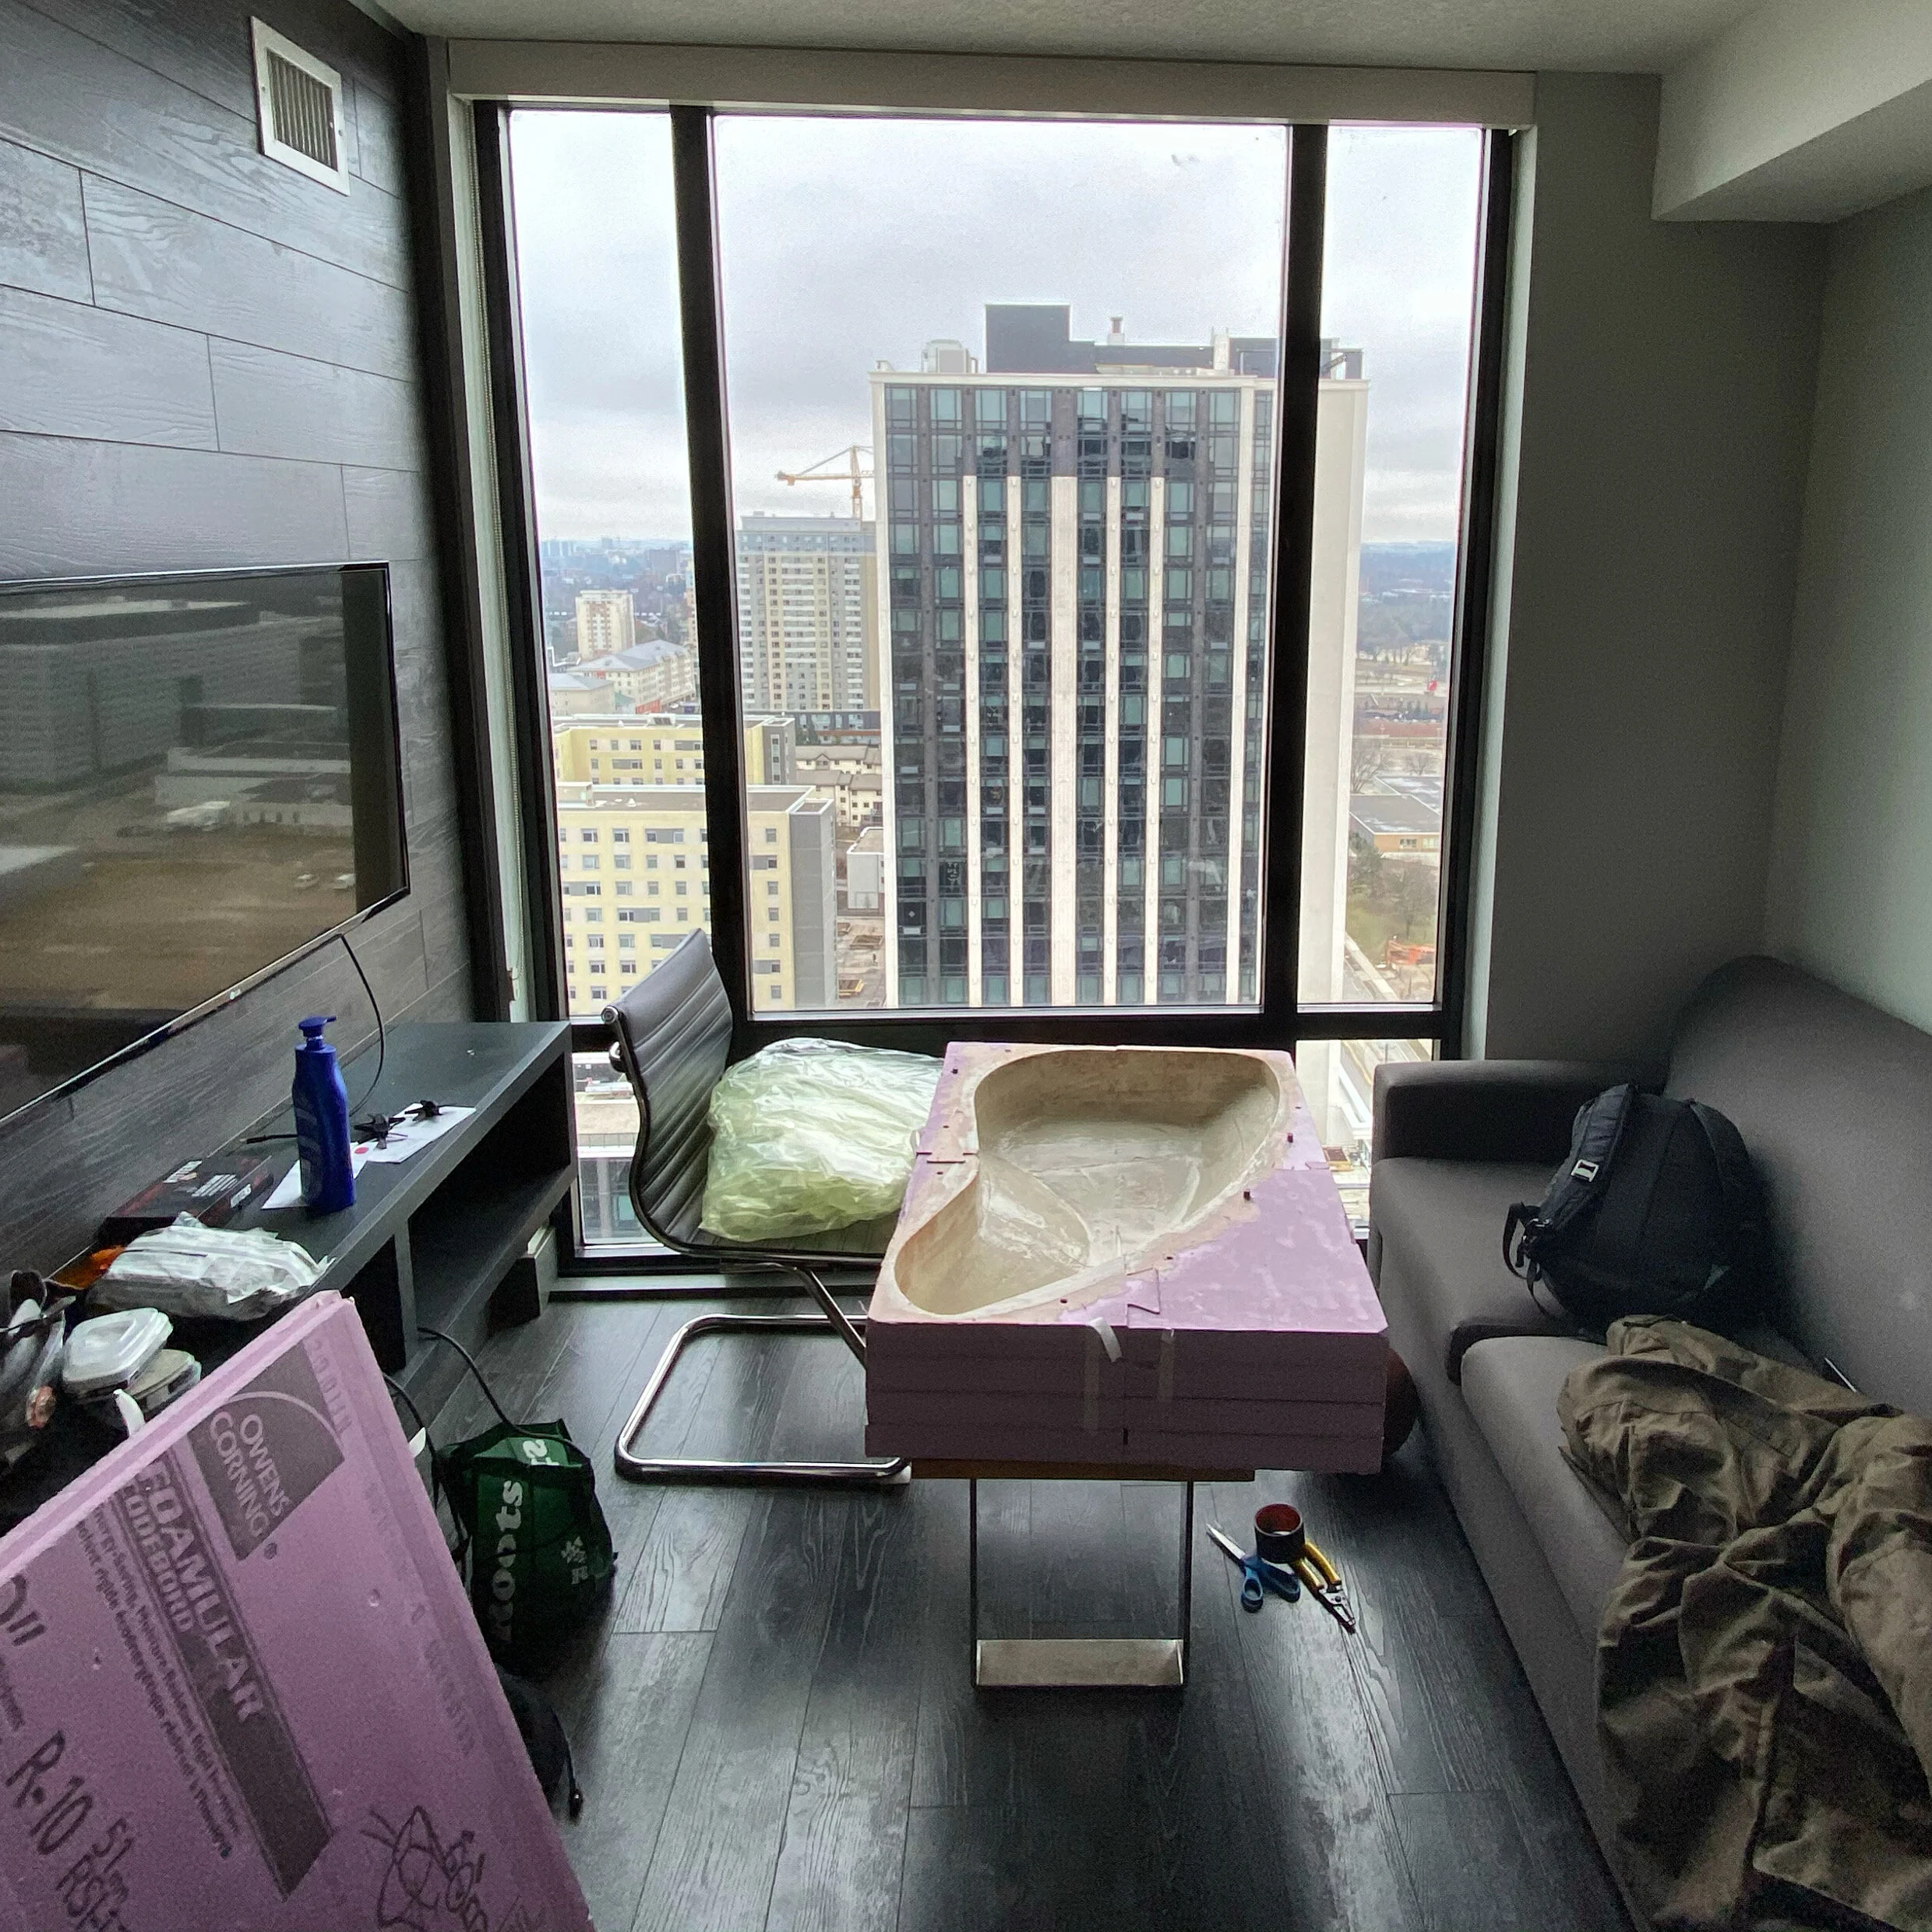
Mould work at home.
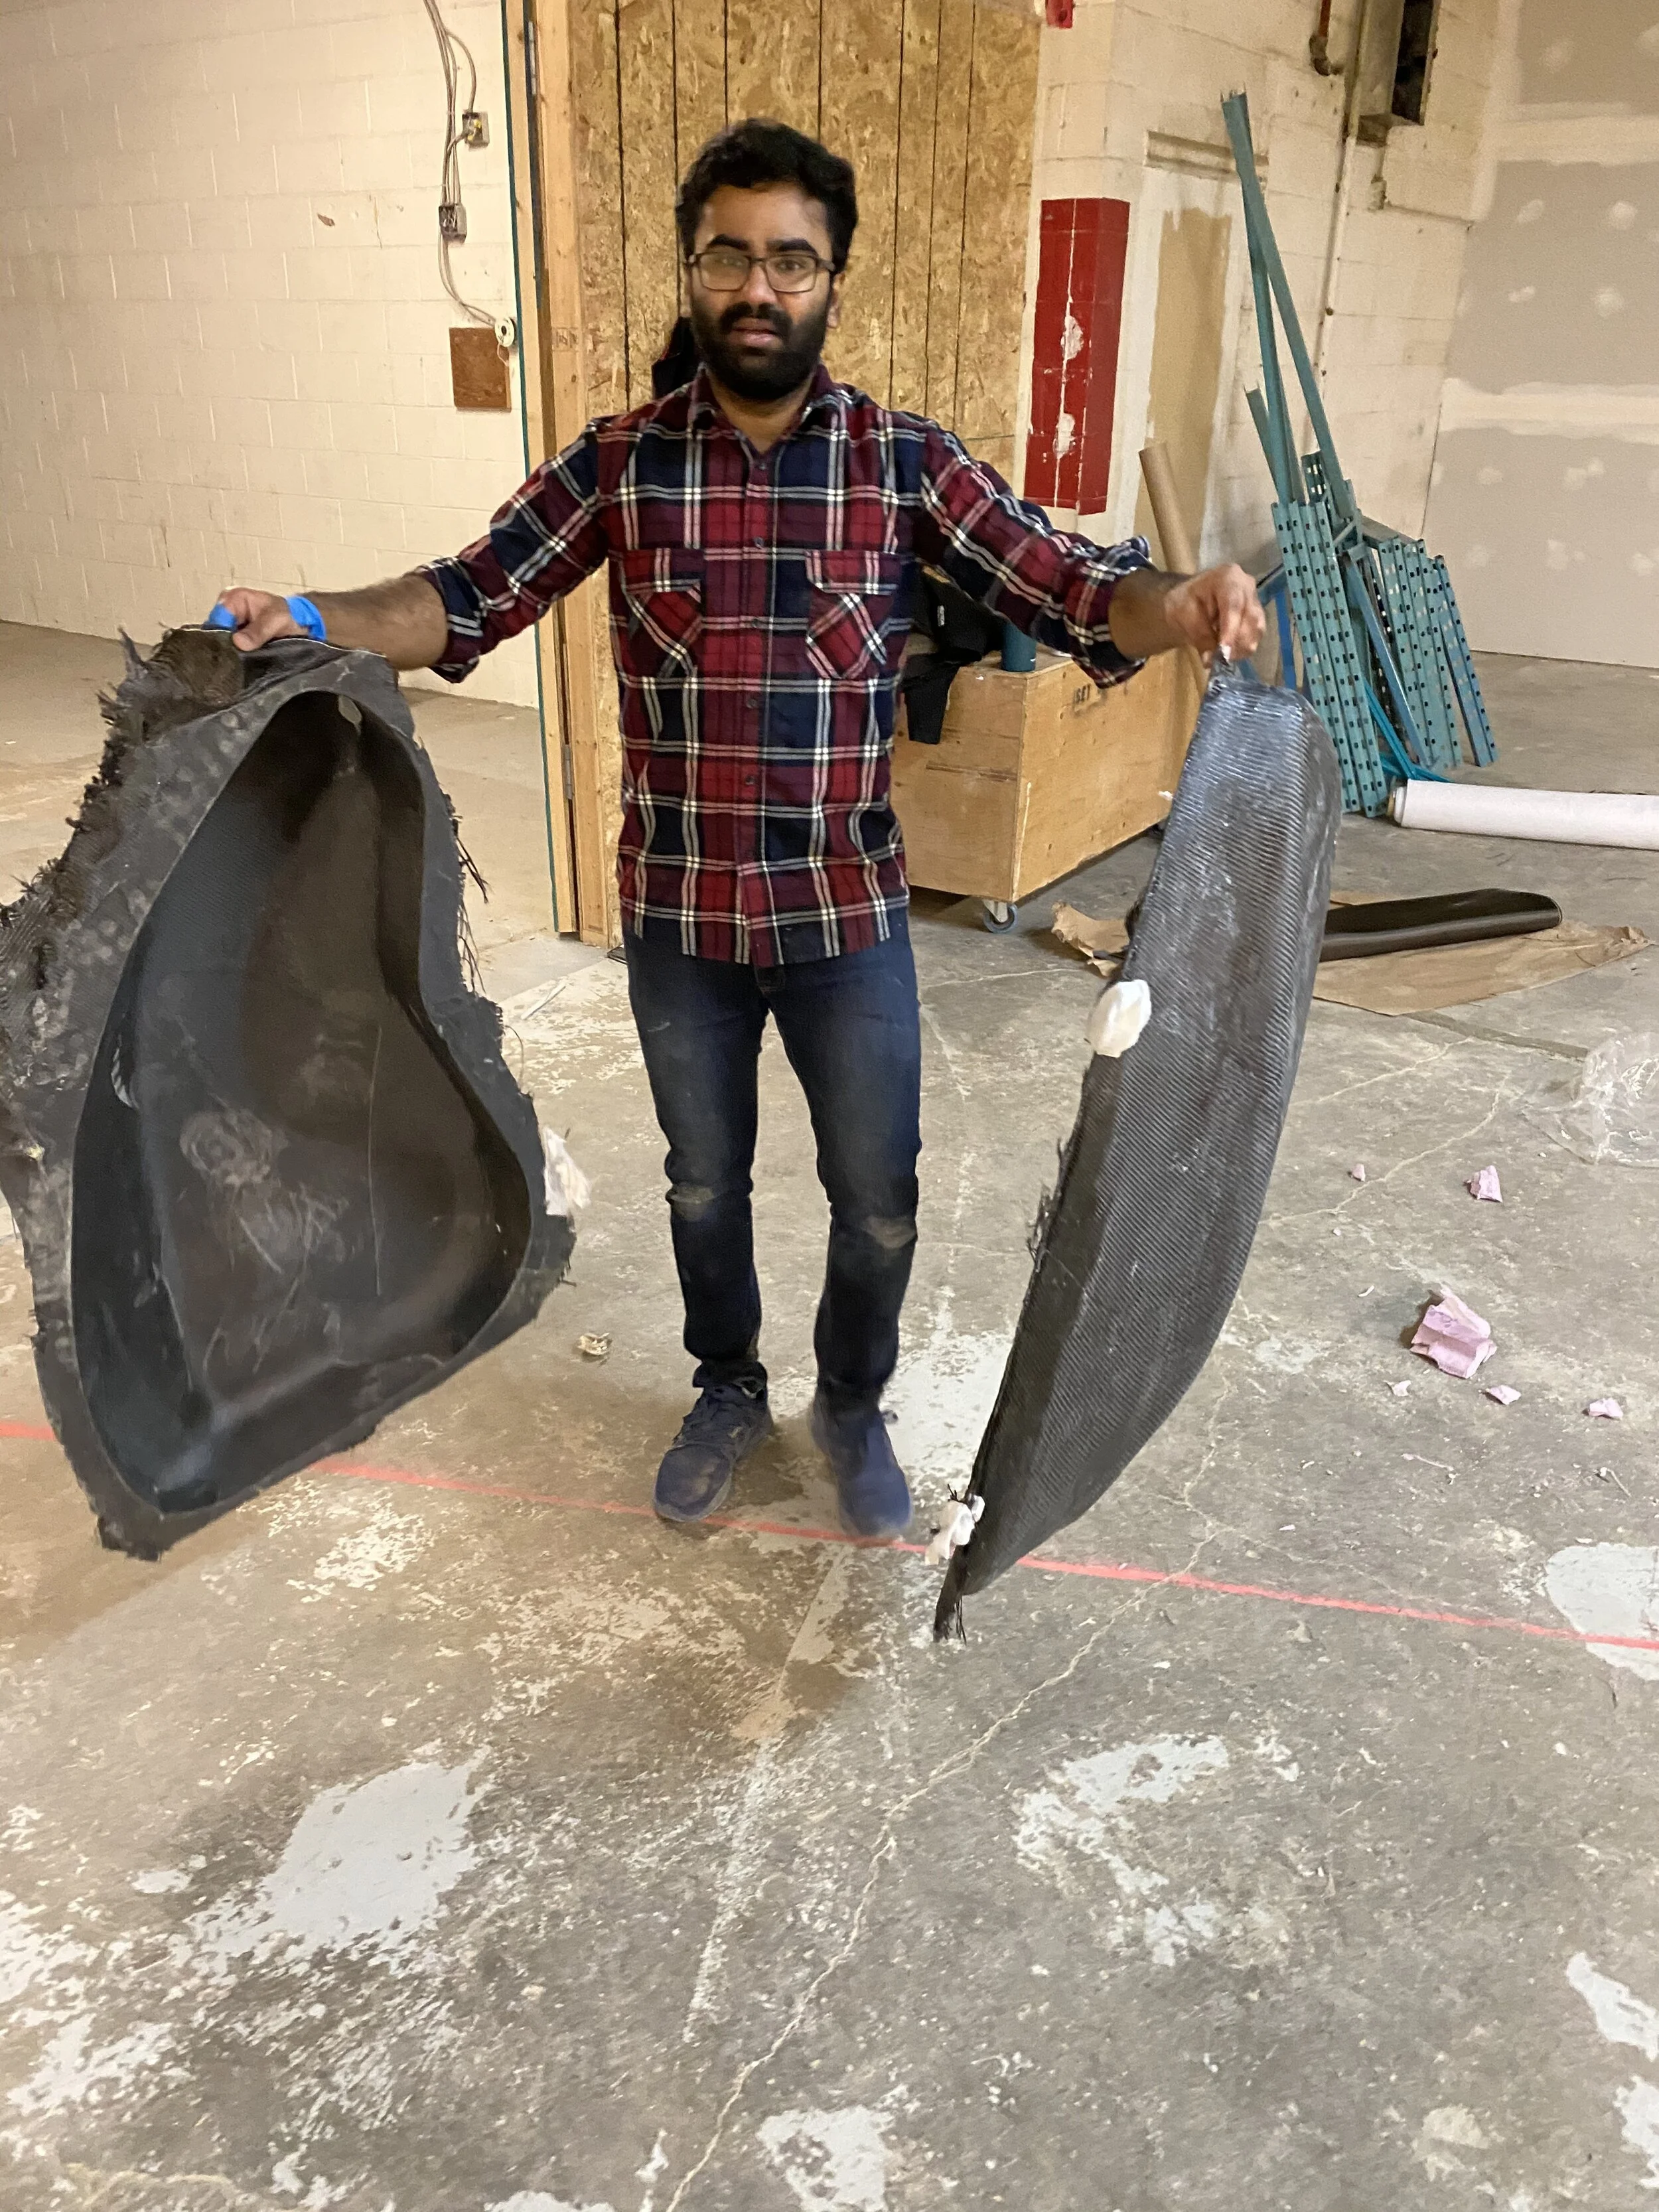
Passenger cell demoulded.
Incorporating the passenger cell onto the drone also meant having to cutout enough space on the wing for it, including cutting out the middle section of the spar. This required reinforcement all around the new cutout wing profile (as the passenger cell itself did not carry any of the load) which lead to increased mass and decreased stiffness. The reinforcement was done through a series of carbon fibre tubes interconnected and glued to the wing. We had some concerns about resonance given the loss of stiffness in the wing, but after a few flights we regained confidence in the structure. At this point it was April 2020 and we had taken this 1/2 scale prototype as far as we could, I’ve written a follow up post on what we did next.
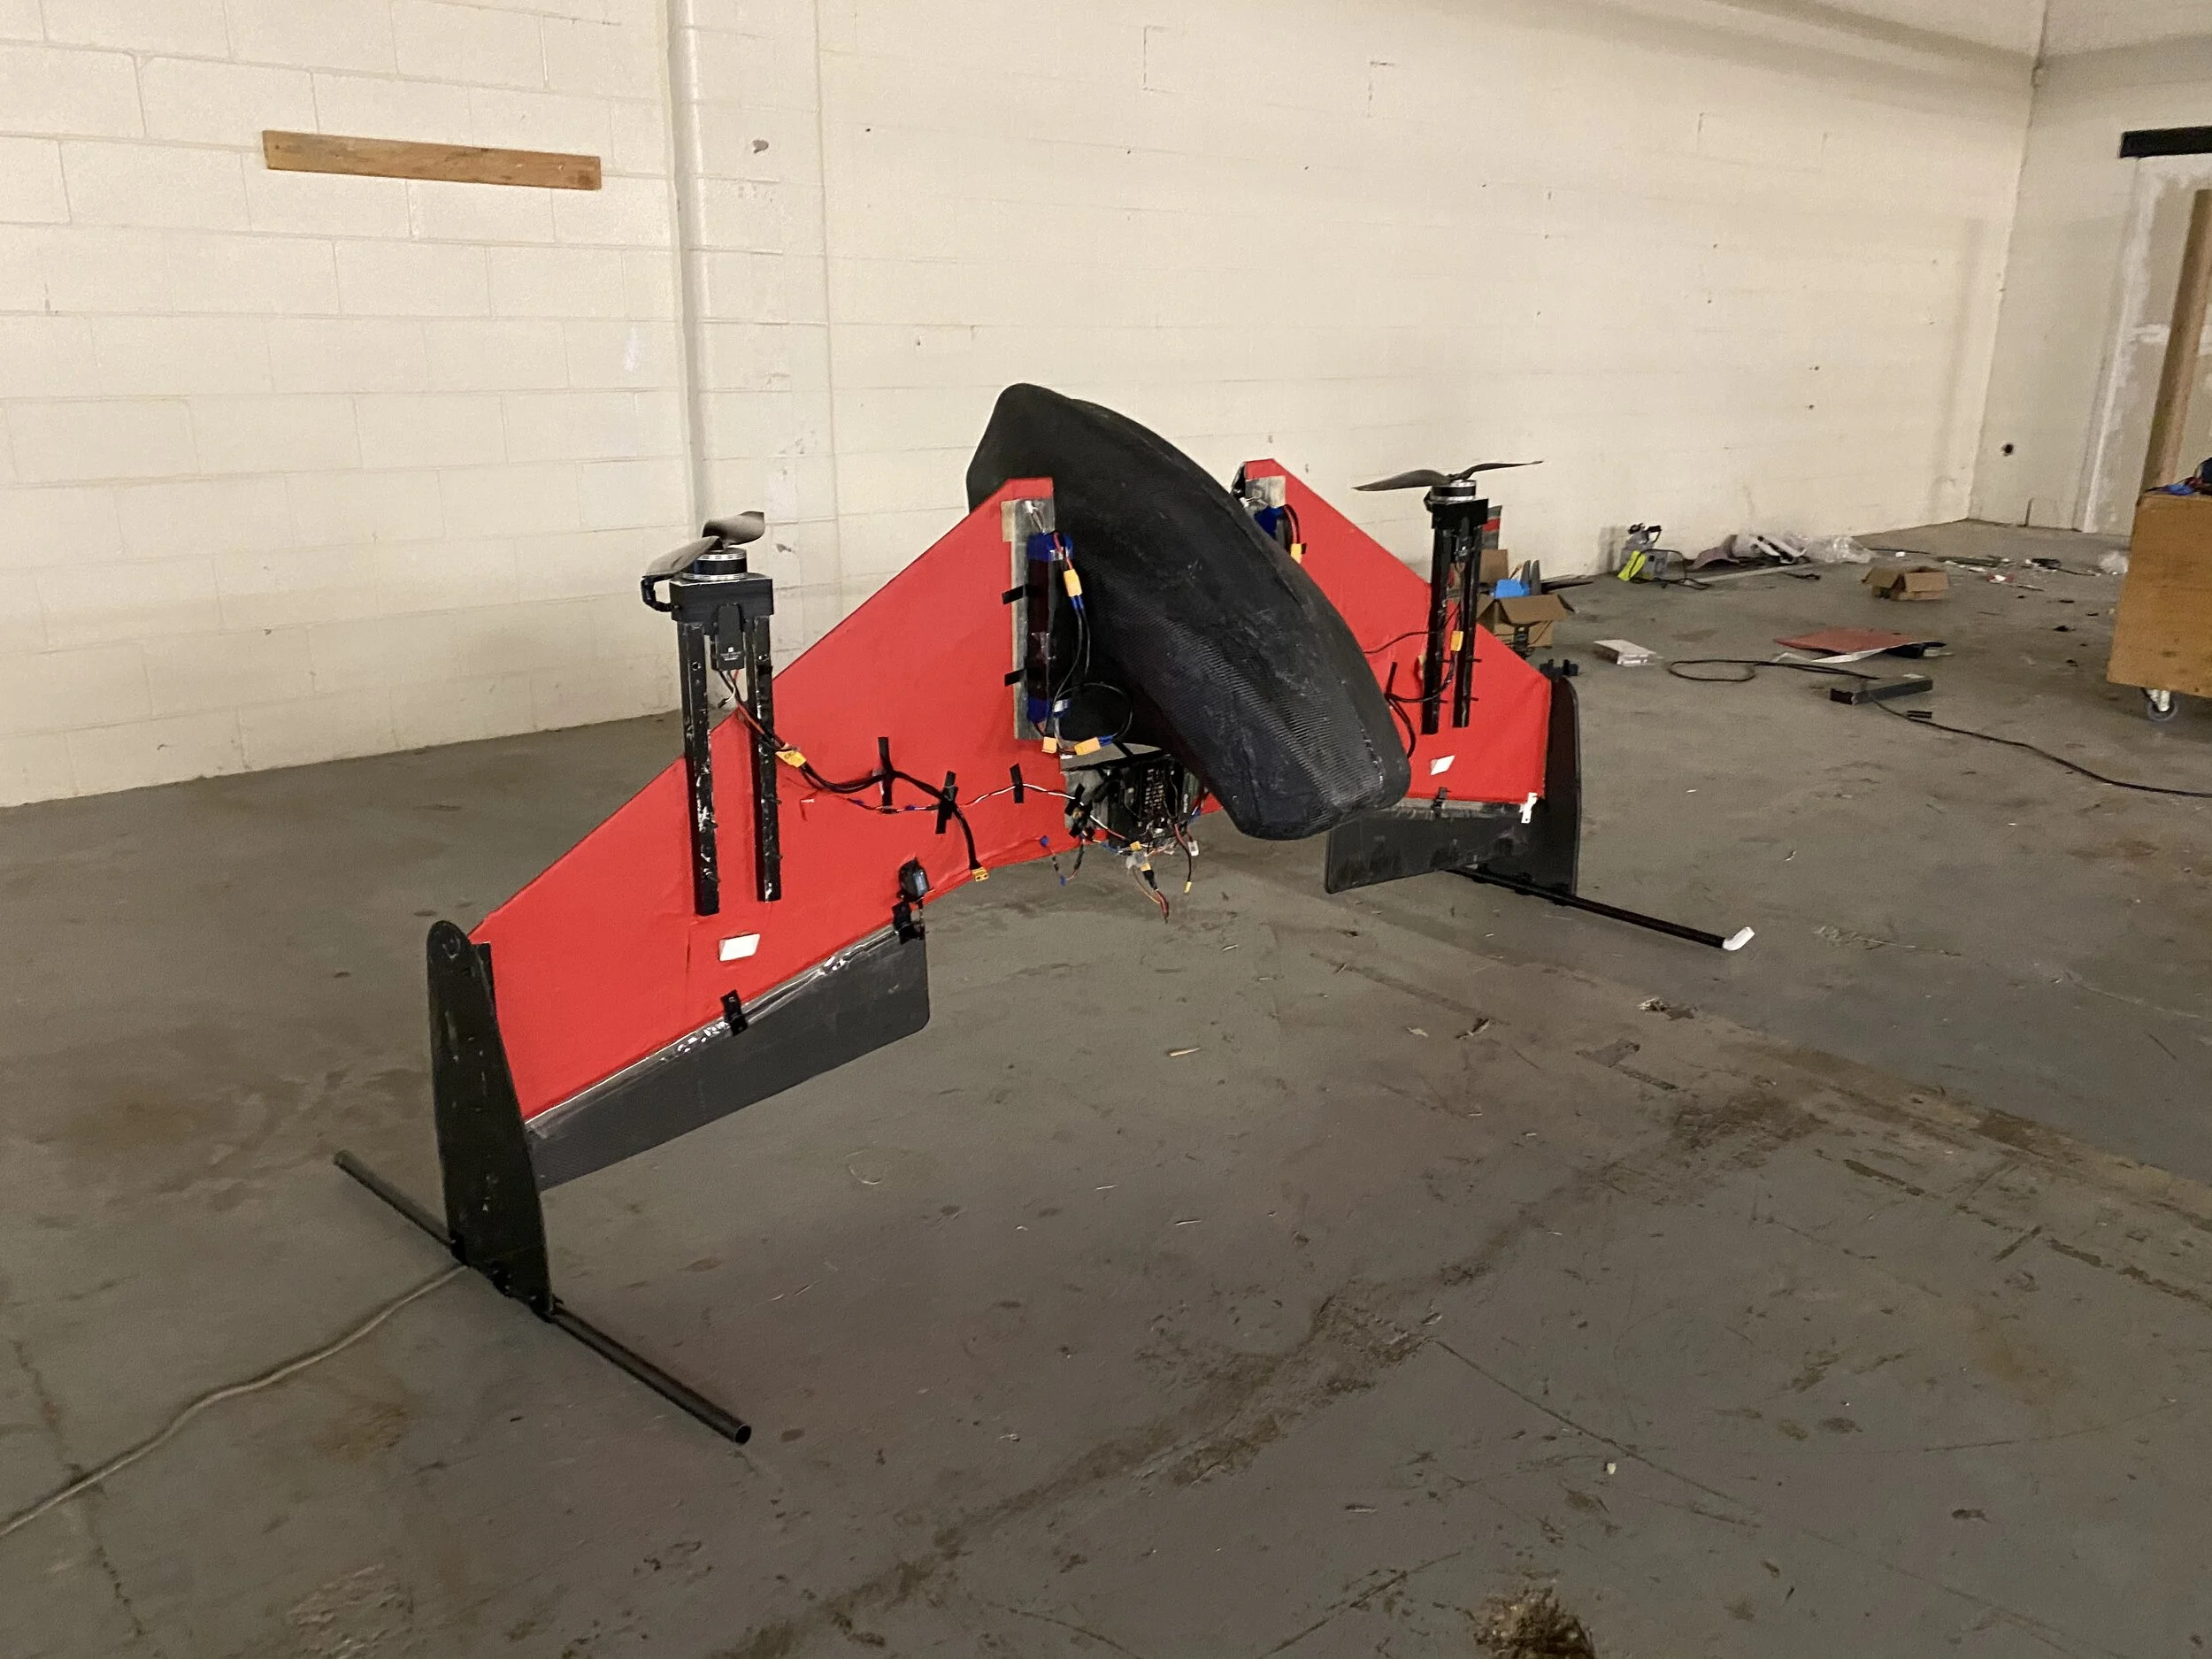
Assembled drone with passenger cell.

First flight w/ passenger cell.

First time flying outside w/ passenger cell.